
Beginning Thrown Weapons
Vikings and Viking culture has been one of the hottest new trends. We have shows like Game of Thrones and Vikings to thank for the renewed interest in it. One of the things we all associate with pillaging warriors are axes. We see them used as tools, hand held weapons and thrown weapons. Locally, there have even been places that have started showing up where you can pay to go practice throwing their weapons. Some have leagues. In the S.C.A, we practice thrown weapons as well. You can throw spears, axes, knives, and sometimes other unique blades. Last week I had the opportunity to practice thrown weapons.
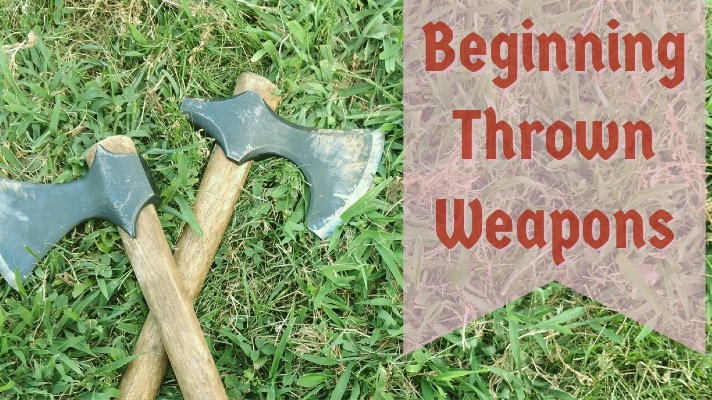
My husband and I both purchased our axes from Ragnar’s Ragweed Forge. We choose them for several reasons. We know a lot of people who have purchased from him before and have high quality weapons. We also chose Ragnar’s because he documents all of the weapons he sells. My husband chose the Viking Ship Builder’s Axes. We use them in camp often as well as using them as thrown weapons. They have a point like a hammer head on the back side of the axe. The axe blade can be used to break down small wood for the fire. The axes need to be sharpened in order to stick well.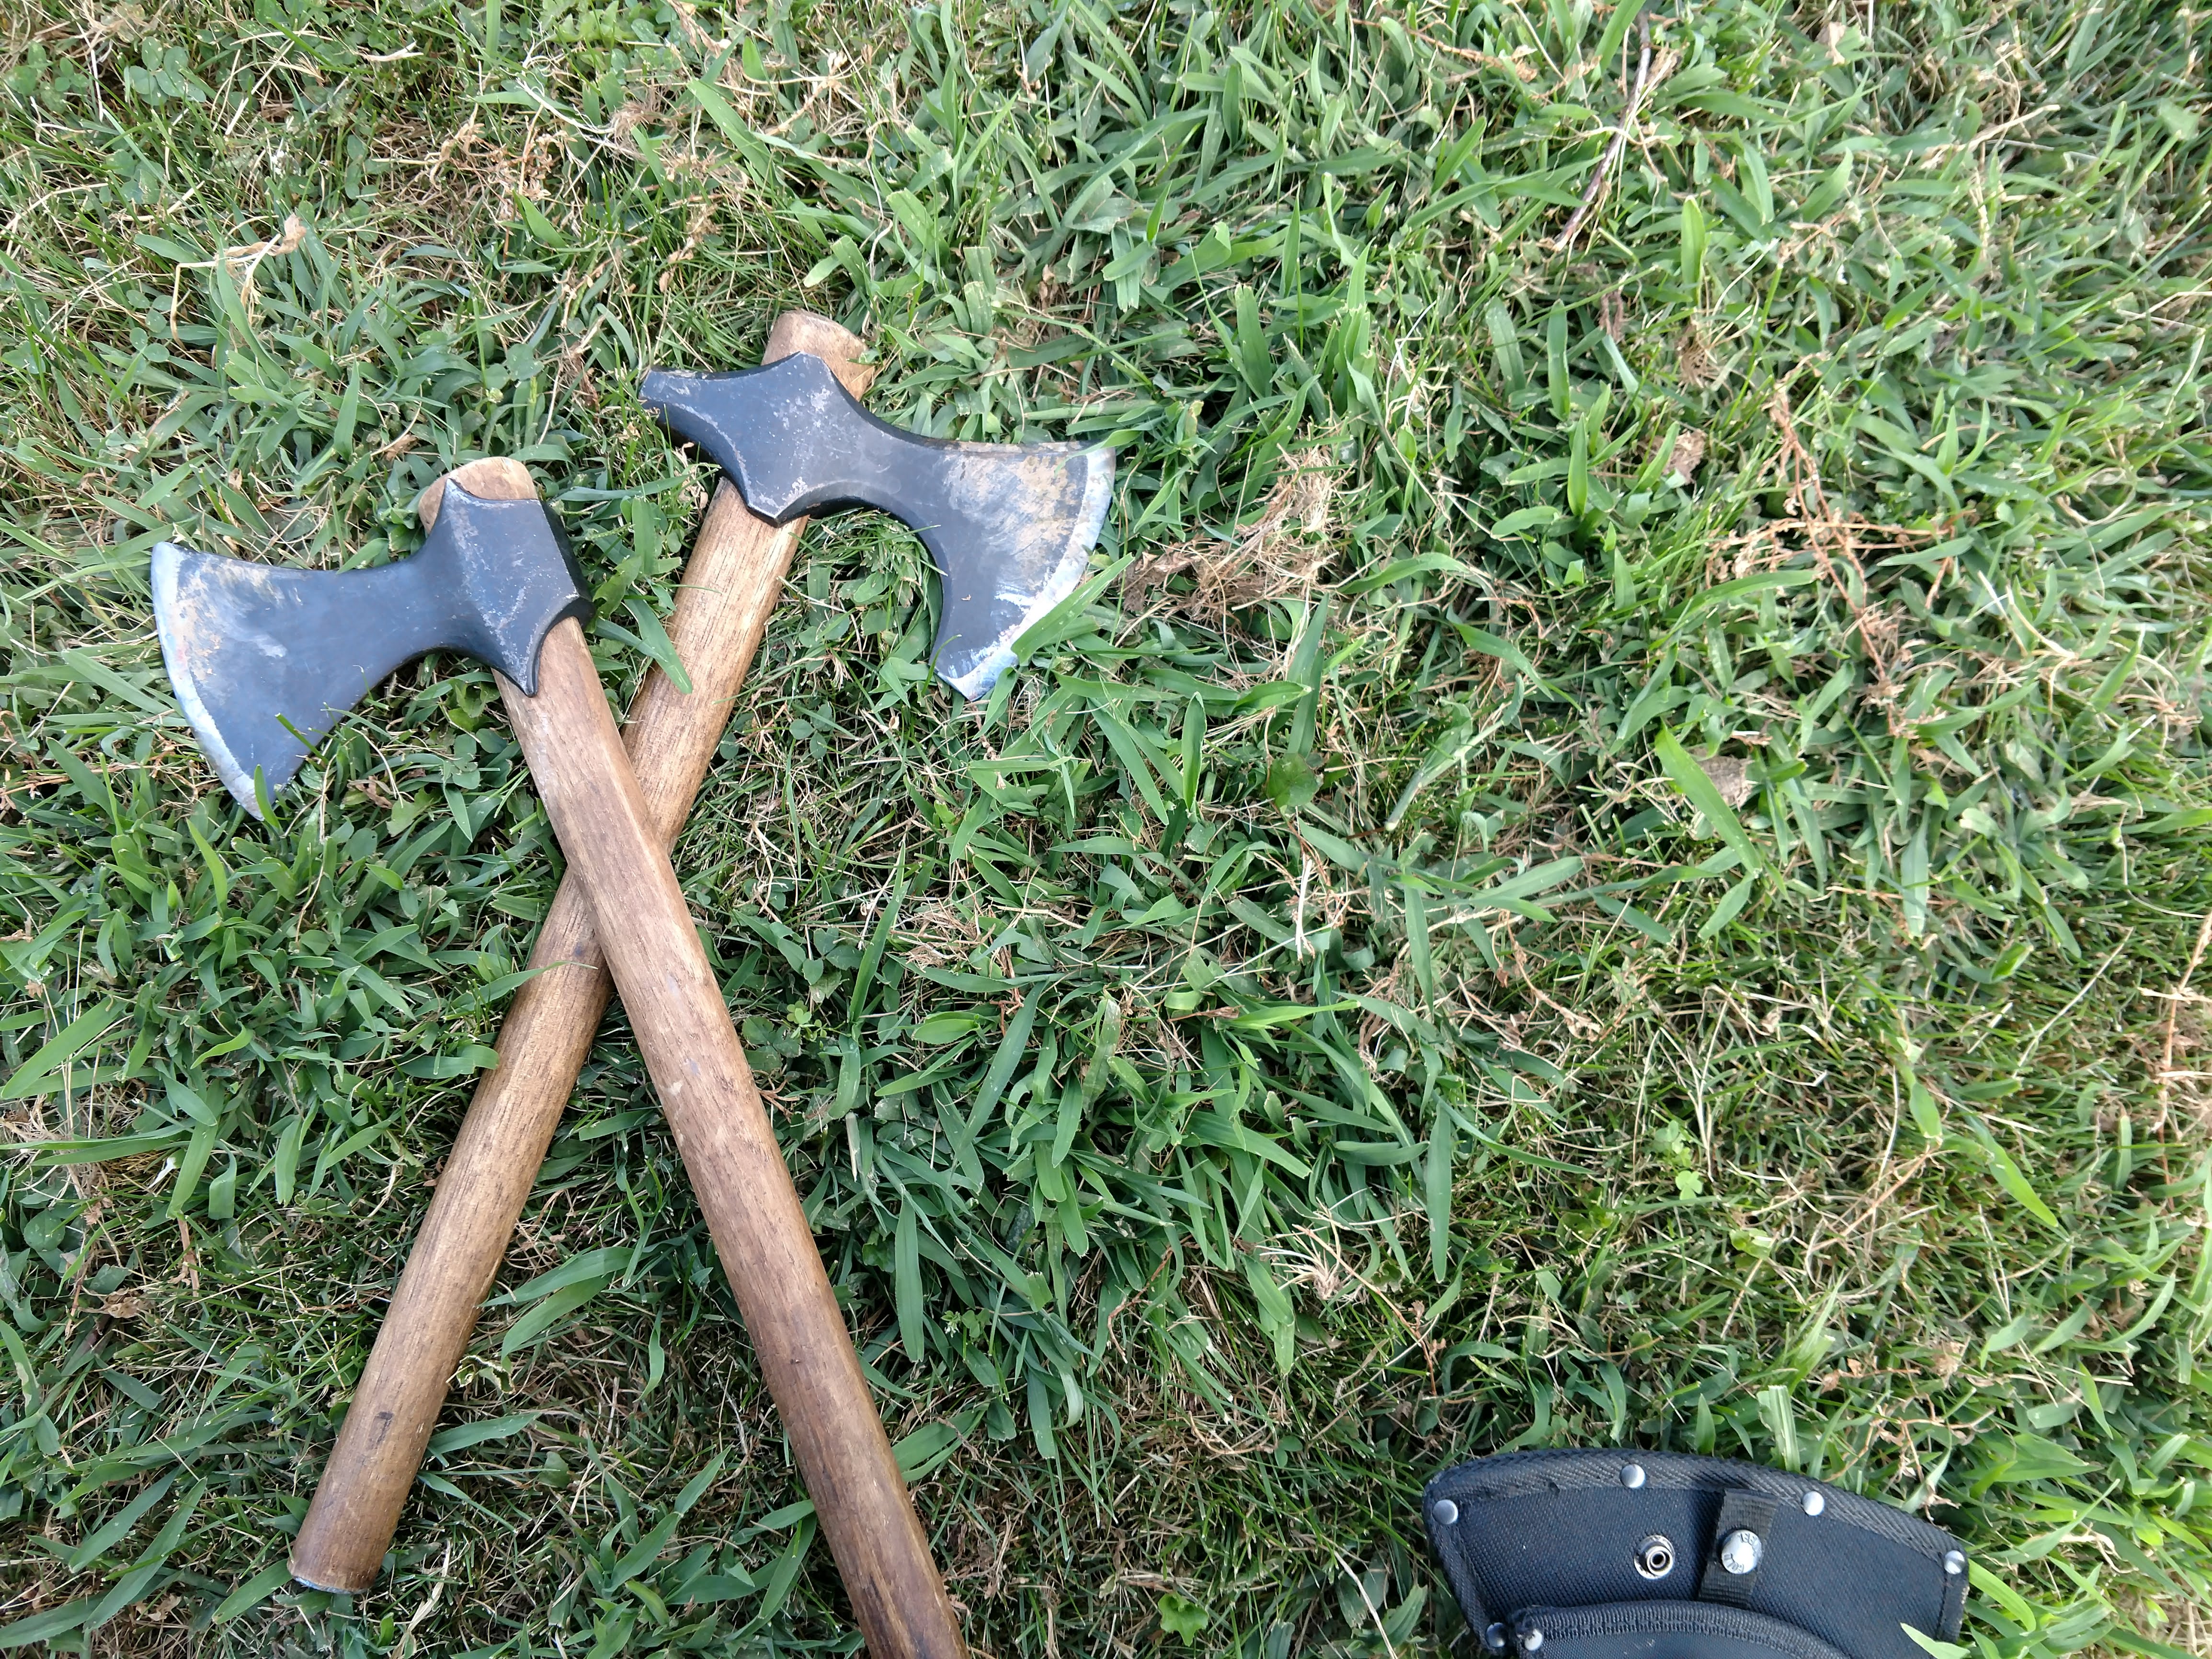
First, inspect the weapons you would like to throw. Make sure the handles are smooth. If they are not, you can get splinters as you release. A little bit of sandpaper will take care of any little hiccoughs. If your handle has splits, or big chunks taken out of it, it is time to replace the handle. Do not throw weapons that have any question about their safety. Axe heads should stay on the top of the axes. You can tap the handle down further into the axe head if it will not stay in place using another axe or a mallet. Axes and knives should be semi-sharp. If they are too dull, they will be difficult to stick. You do not want them to be sharp enough that you may cut yourself while throwing.
Choose or create your target. The most common targets for thrown weapons are round, but you can throw at a vertical or horizontal target as well. Round targets are usually made by slicing an 8-10 inch thick piece of a downed tree and setting it up so that you are throwing at the raw wood, not the bark. Soft wood makes the best targets, especially when you are learning. Harder wood requires a harder throw. You should not have to throw your weapons with a lot of force. When throwing, you are concentrating more on the accuracy and rotation than the strength with which you throw. Soft wood works best. Some options are pine, cottonwood, maple or hemlock. Hard woods or wood that splits easily are not good choices. Hard woods will make it more difficult for you to stick your blades. Wood that splits easily will mean you need to replace your target often. Bad choices include cedar, oak, elm and fir.
In S.C.A., if you are learning to throw so you can record an average, you will want to paint circles on your round target. The bullseye should be 3”, the next should be 8”, and the last should be 14”. These scores translate into 10 points for a bullseye, 7 points in the 8” circle, 3 points in the 14” circle, and 1 point for any other space on the target. The part of the blade in the highest scoring section is the one that you use. If it breaks the line between two colors, it counts as the highest score between the two lines it breaks.
Next, you want to set up your range. Choose somewhere outside on the grass or dirt, with no walls or fences close by. You may damage your weapon or the wall if you miss your target. You need a space where you can be sure nobody is behind you and where you clear an area around your target. Draw a starting line. Set up your target in front of your line. A common placement for S.C.A. is 10 or 20 feet. If you are just starting, I suggest practicing at the 10 foot mark until you have mastered it. Ensure nobody can walk within a 45 degree angle forward from your line both forward and backward. Make sure any spectators or other throwers are in a place you cannot hit them and they are paying attention so they are not hit by any bounces. It is possible, and likely, that your weapons will bounce before you get used to it.
I recommend that new throwers do not throw weapons by the blade. It is not unsafe to throw weapons by the blade, but I suggest getting used to the action and rhythm of throwing before releasing a sharp blade. The pinch grip is used when throwing by the blade.
Be careful when throwing axes. Keep the axe straight so you do not hit yourself in the back or side of the head with it.
These are the tips I learned after my first try:
- When you fail to stick, but you’ve hit the target consistently, take a step forward or backward. It will change the rotation the weapon gets before it hits the target.
- Stand with the weapon in your dominant hand. Place the opposite foot forward, and your dominant foot back.
- Point at the target with your non-dominant hand. It will help you to stay steady, visualize, and aim.
- Shift your weight forward as you throw, the same way you would throw a baseball from the waist down.
- Stand straight, hold your blade straight, and swing your arm straight when you throw.
- Hold the knife or axe as if you were holding a butcher’s knife or a hammer. Swing just like you were driving a tent stake into the ground. Knowing when to release is one of the skills you will learn as you practice. This is known as the hammer grip and is most often taught to beginners.
- Always consider safety first. If it feels wrong or you are afraid of getting hurt or hurting others, don’t do it.
For more recipes, camping tips, and everyday fun, subscribe to Gryffin’s Landing! Enter your email on the right to get an email every time we post something new. Follow us @gryffinslanding on Twitter, Facebook or Instagram.