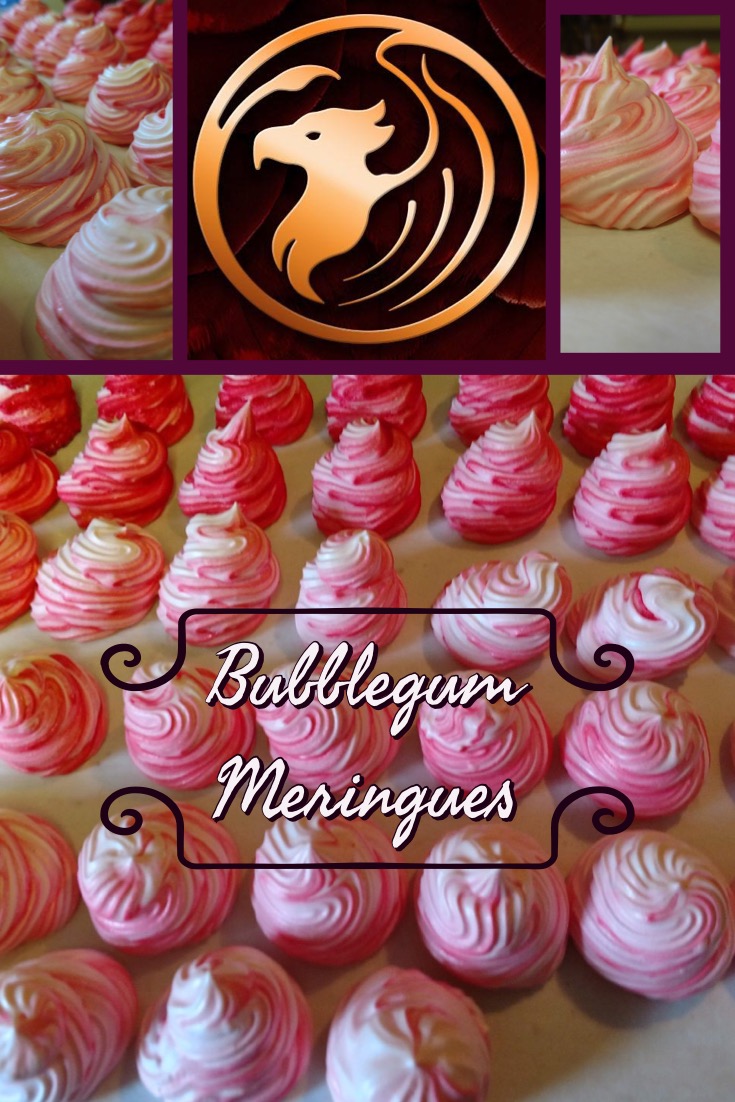
Bubble Gum Meringues
In the last few years I have been expanding my repertoire of baked goods. I watched the Great British Baking Competition and I was definitely inspired to spend more time baking. One of the things the baker’s often do is add macarons to their cakes as decoration. They look gorgeous and come in such a variety of colors!
One of my faults in the kitchen is consistency. I was kind of afraid of making macarons because I didn’t think I could get the cookies regular without ever having worked with anything similar. It also seemed like a lot of work to ice them all and stick them together.
So I decided to try making meringues first. I’ve made soft meringue topping for pies before, so I wasn’t scared! Like macarons, you can make meringues in any flavor you can imagine. I usually use extracts to flavor my meringues because they’re really fussy about oils. Any egg yolk, butter, excess water at the wrong time or oil will cause your meringues to deflate.

I was never a fan of marshmallows unless they are cooked over a fire. Meringues can have that crisp, crunchy outside and a gooey inside that cooked marshmallows get. While they’re perfectly safe and have been cooked this way for centuries, I don’t like the idea of foamy egg white in my mouth. I like to cook mine just a little longer. When you take a bite, they crumble like astronaut ice cream. The overbaked meringues stay good longer, and they hold up better for outdoor parties. All of my meringues seem to disappear no matter how long I bake them. If you do choose to overbake your meringues, they will shrink a little when you remove them from the oven. If you overbake them by too much, they will crack and shrivel when they dry.
Meringues are much harder to bake on days that are rainy. The meringue never quite peaks correctly, and they take longer to bake. If you have a choice, try to make them on a dry day before your event. They only stay good for about a week at the maximum. Mine stop looking quite as good on a display after about three days. If you like the more foamy meringues, they are best kept in the refrigerator.
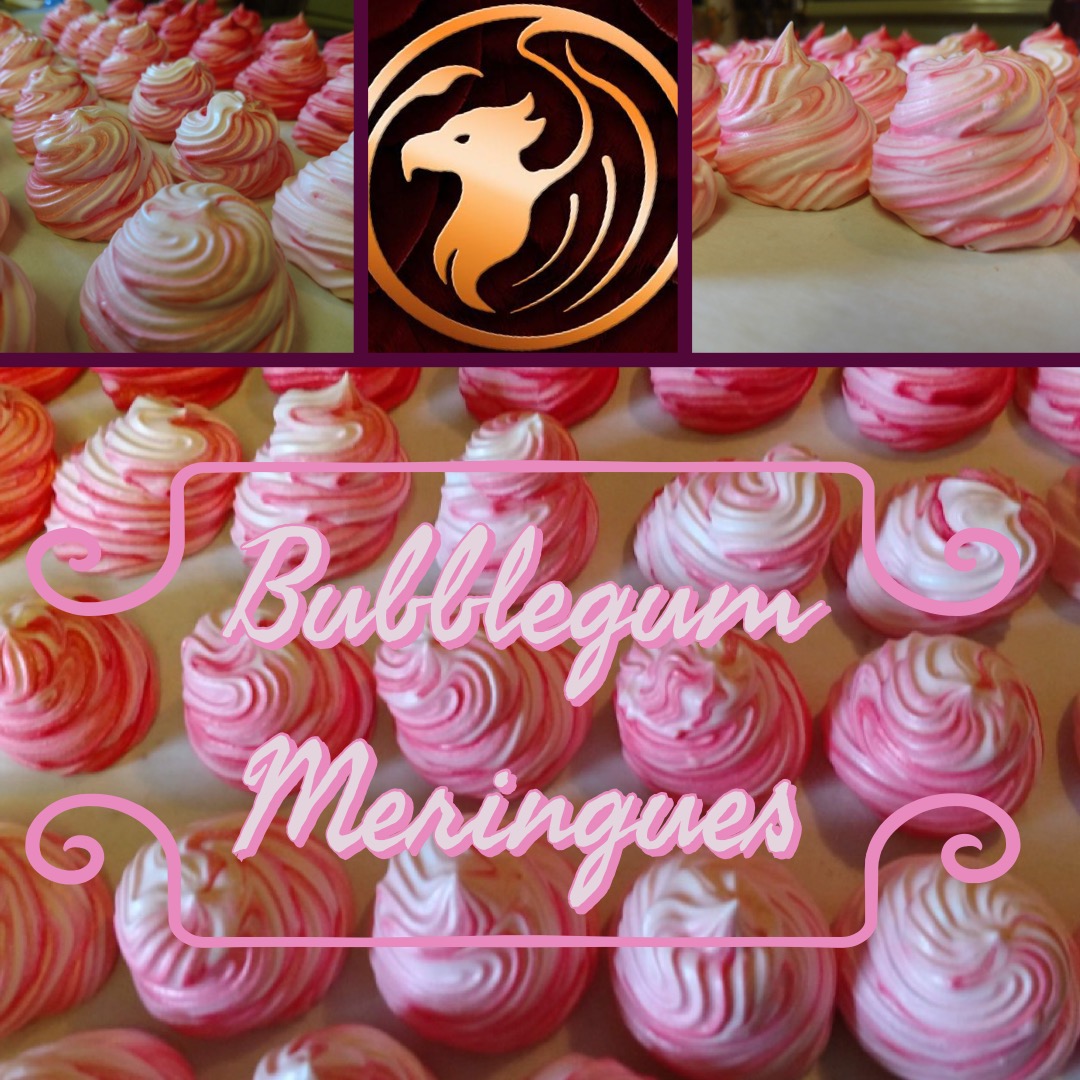
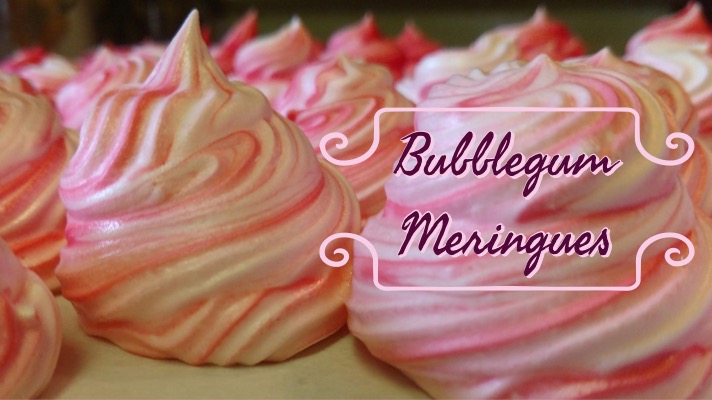
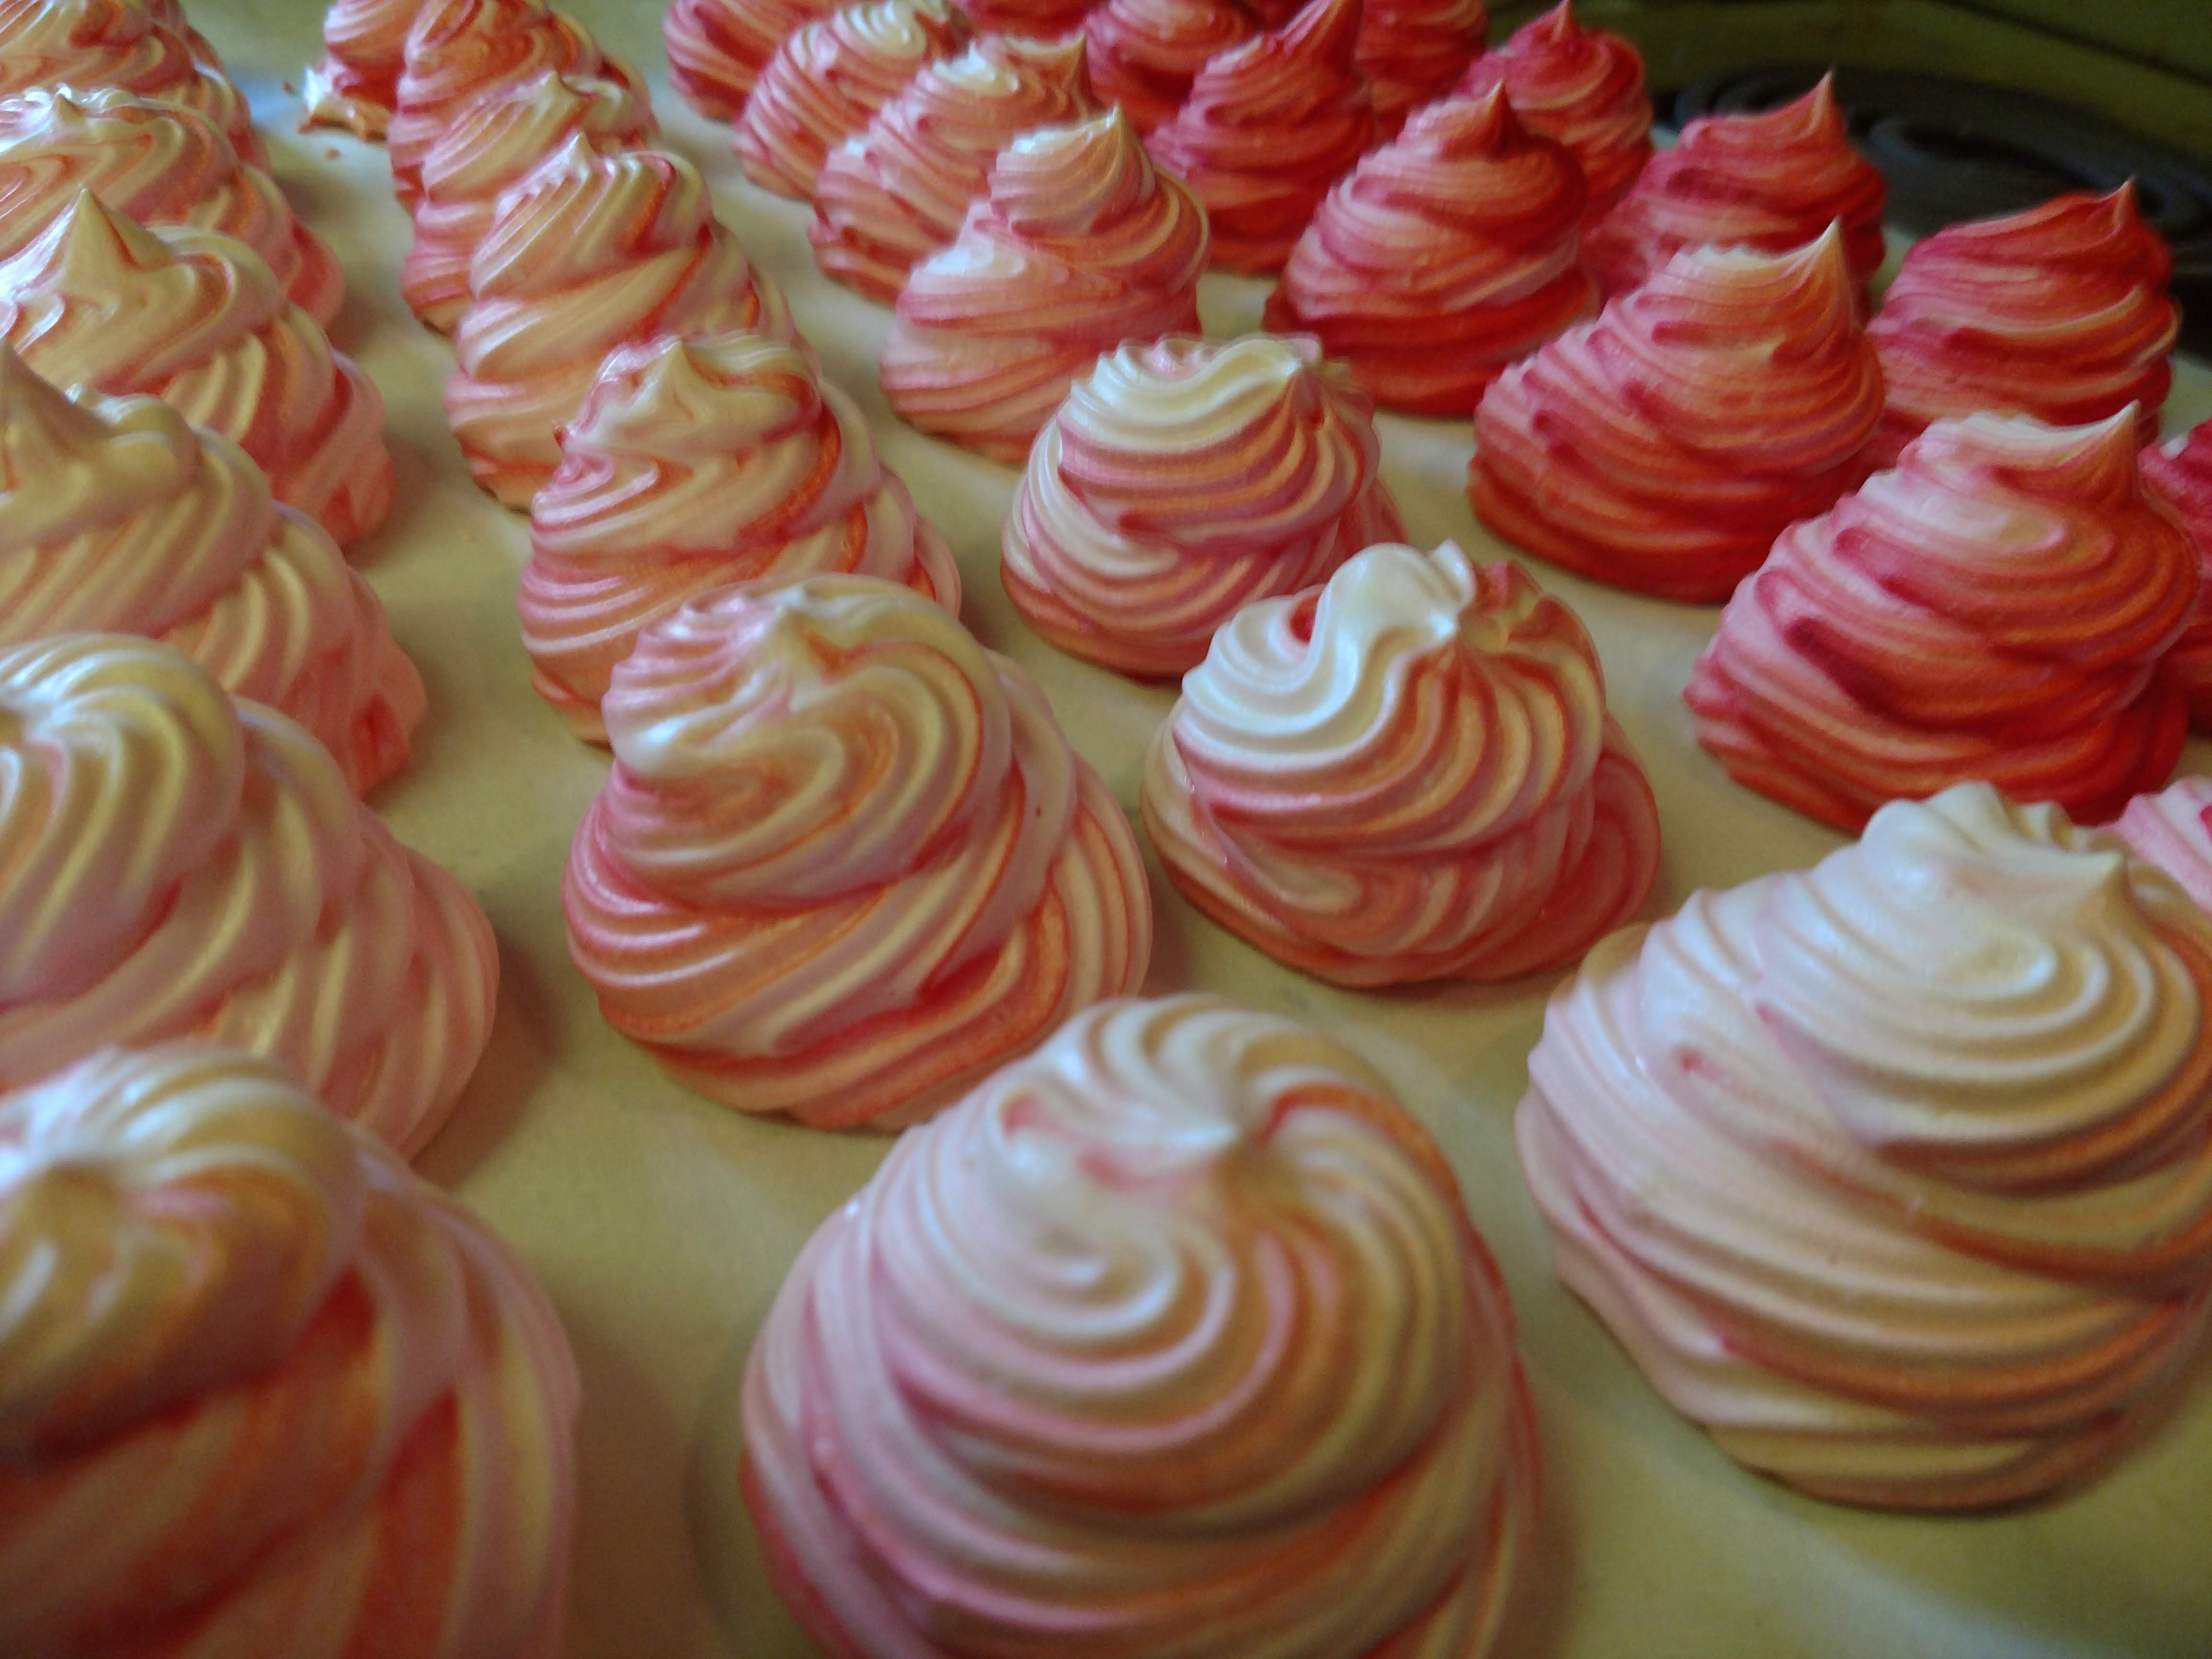
One of the best part about meringues is that you can make as many or as few as you like! I have never made fewer than two egg whites worth of one flavor. It becomes hard to mix consistently unless you are mixing by hand. I am far too lazy to hand whip meringues; it takes 10-20 minutes in the mixer. This recipe got me about 45 meringues. I pipe mine to be about 1 -1.5 inches tall and about as big around on the bottom as a quarter or a half-dollar. Keeping them consistent is important to the baking process, but you can pipe them in any shape you like. I like making ice cream cone style swirls with stripes of color for most of my parties. They look amazingly appetizing among the other shades of tan and brown on the cookie table.
You get bigger, fluffier meringues with superfine sugar. I never buy anything other than regular sugar and powdered sugar though. My kitchen is full enough with ingredients. I do what I can to have multipurpose ingredients! A few whizzes in my little ninja chopper bowl turns regular sugar into superfine sugar in a few seconds. Be sure you don’t run yours through the blades too long though; you’ll end up with powdered sugar instead.
You will Need:
Mixer
Baking Sheet
Parchment Paper
Decorating bag or spoon

Method
- Start with very clean, dry equipment.
- Prepare a decorating bag and tip if you will be using one.
- Separate your egg whites. Here is a link to a video that shows you a few methods about how to separate them if you’ve never done it before. I suggest separating each egg into a bowl, dumping the white into the mixing bowl, and then repeating for each egg. This way, if one yolk breaks, you do not have to start all four eggs over again.
- Preheat the oven to 250 F.
- Line a baking sheet with parchment paper. If you aren’t sure of your piping skills, you can trace circles on the parchment paper in the shape you want your meringues. These are little ice cream cone tops, and the bottoms are about the size of a half dollar.
- Beat your egg whites on medium for about one minute, or until they are foamy on the top.
- Add salt and cream of tartar to the mixing bowl. Turn the mixer up to high and beat the meringue. I usually beat the meringue for about 8 minutes from this point until it is done mixing. You will first start to see soft peaks. In my KitchenAid, I need to pull the whisk off the mixer about two minutes in and hand mix for a moment, really digging deep into the bottom of the bowl. It helps me to ensure that the very bottom of the bowl does not have some unmixed egg.
- When the meringue begins to stiffen a little, it is time to add the sugar. Sugar needs added slowly as the mixer beats the meringue. I use a tablespoon to add the sugar a spoonful at a time.
- When you begin to get shiny, wavy peaks, add flavoring and continue mixing. If you want to dye the entire meringue, now is also the time to add food coloring.
- You will know it is done when you can lift the whisk from the bowl and it leaves behind tall, peaks that aren’t as shiny as they were you added flavoring. They should be stiff enough to stand on their own, and not fall over when you pull the whisk away. If your peaks fold over at the top like a wave, it isn’t done mixing. Do not let the mixer run for more than 20 minutes. By that point, the meringue is definitely overworked and will not bake properly.
- To create swirls, pour a few drops of food coloring into a streak down one side of the decorating bag. I need to hold the bag on its side until I get some of the meringue into the bag. If I hold it upright, the drops of coloring end up on the floor. If you are going to spoon the meringues onto the baking sheet rather than pipe them, please skip to 14!
- Using a rubber spatula, scoop the meringue into a decorating bag. Try to avoid squishing the air bubbles out of your meringue. You want to avoid heating up the bag, so don’t squeeze too tight! Once your meringue is in the bag, either twist it and hold it closed or use a rubber band to close the bag.
- Pipe your meringues out onto the parchment paper. Try to keep them even! To create ice cream cones style meringues, pipe a circle like a coiled rope, and continue swirling upward until you complete about 3-4 rotations. To top the meringue, stop squeezing the bag and pull it straight up to get a peak. Refill the bag as needed.
- Bake the meringues for at least 1 hour. My last set were in for about 2.5 hrs. You will know when they are done by touching the side of a meringue. If it sticks to your finger, you’re not done. The longer you let them cook, the crunchier your meringues will be.
- Allow the meringue to cool before you try to remove it from the paper. They should peel right off when cool.
They look great in pretty lines on a tray, sprinkled among other cookies, or you can present them in great designs.
For more great recipes, subscribe to the blog with your email address on the right. You can also follow us on Facebook, Pintrest, Instagram or your favorite social media platform.