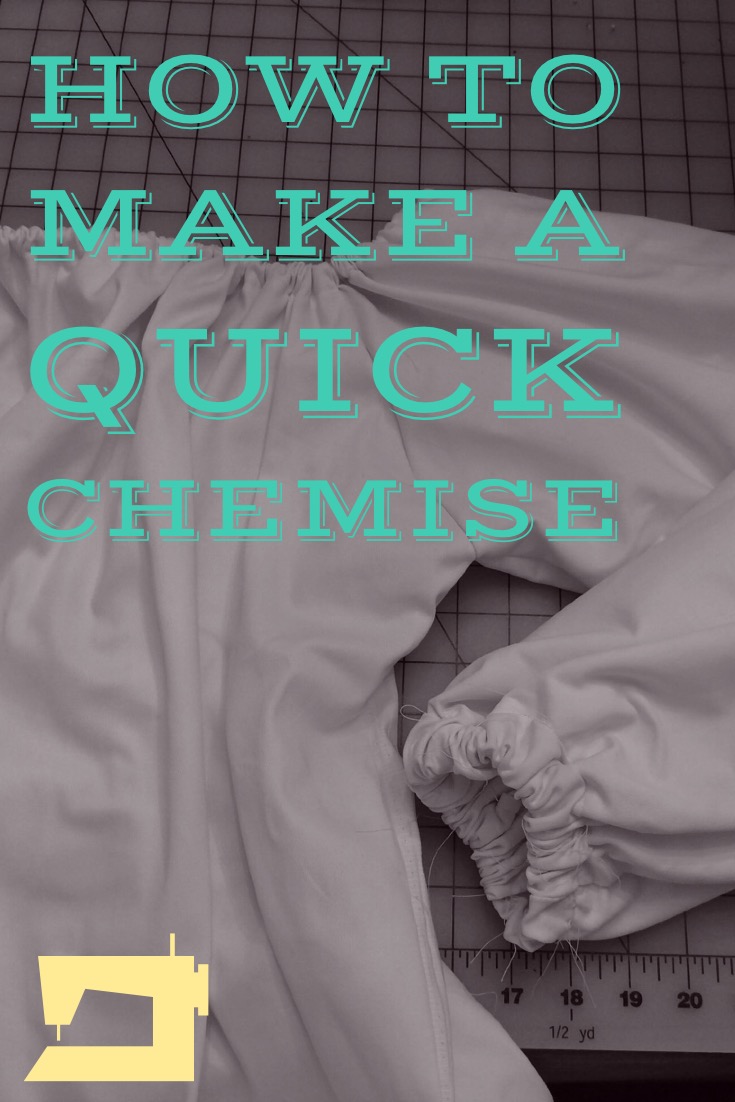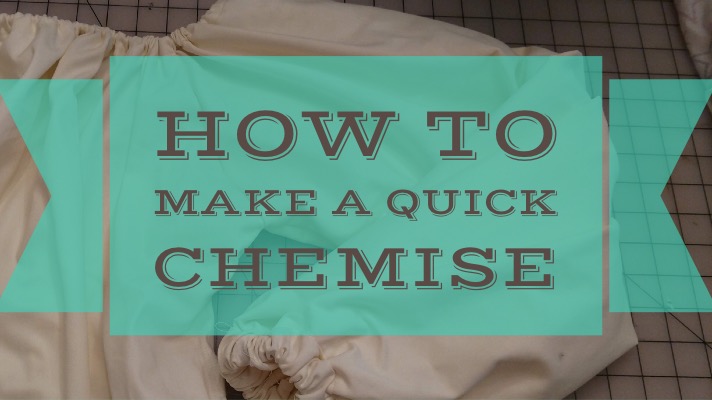
How to Make a Quick Chemise
Somehow, between events, my chemises go missing or acquire damage that I cannot repair. They somehow get shorter, or fray around a seam, and I never seem to be able to find the exact same fabric again. Find yourself coming up on an event and you do not have much time left? This chemise can be made in under 90 minutes, even if you’re not an expert seamstress. The reason why it is quick is the lack of seams and very little measuring. There are only four pieces of fabric in this pattern. This is written for a full length chemise, but if you just need a chemise shirt you can absolutely shorten the body panels. This is absolutely not a period way of creating this garment. People who wore this every day need it to be the best garment they owned; they would never need to rush making it.
What you need:
A little less than 3 yards of 60 inch fabric, preferably white or ivory, and preferably a natural material such as linen, cotton, or muslin. If you are making just a top, you will need even less.
3 yards of ribbon, shoelace or rope (you will actually only use about 1 yard, but you need the extra to sew it in) I use a round trim that I found at Jo Anne’s in their upholstery section.
Sewing machine
White thread

This will not be the most comfortable dress you’ve ever worn, but for me, it’s not uncomfortable enough to want to not wear it. I find that the drawstring around the neck is tricky to get to sit on your shoulders correctly. The drawstring does not want to slide around the seams between the sleeves and the front and back. Once you get it set the first time, it is pretty easy to stay in place. It would be much more comfortable with gussets under the arms and gores in the skirt, so if you have time, I would add them in. You would need around 4 yards of fabric if that is what you were going to do. If you make this out of cotton and you are a 2-3x, it may be a little tight for a chemise. Linen will stretch as you wear it. Think about what type of dress you intend to wear over your quick chemise if there may be tight places. If there is any measurement on your body that is wider than the fabric, you will have to add side panels or gores, and this is not the guide to follow.
The great thing about the chemise is that it is not form fitting. You want a little extra fabric to create the gathered look around the neckline. I usually wear a 2x in shirts, and I am 5’9”. Depending on your proportions, you may be able to fit about one size up without changing the pattern. Because of the nature of the chemise, unless you wear a small or a medium, you should also not need to change the pattern. When you do make changes, be sure to change both the front and back panels evenly.
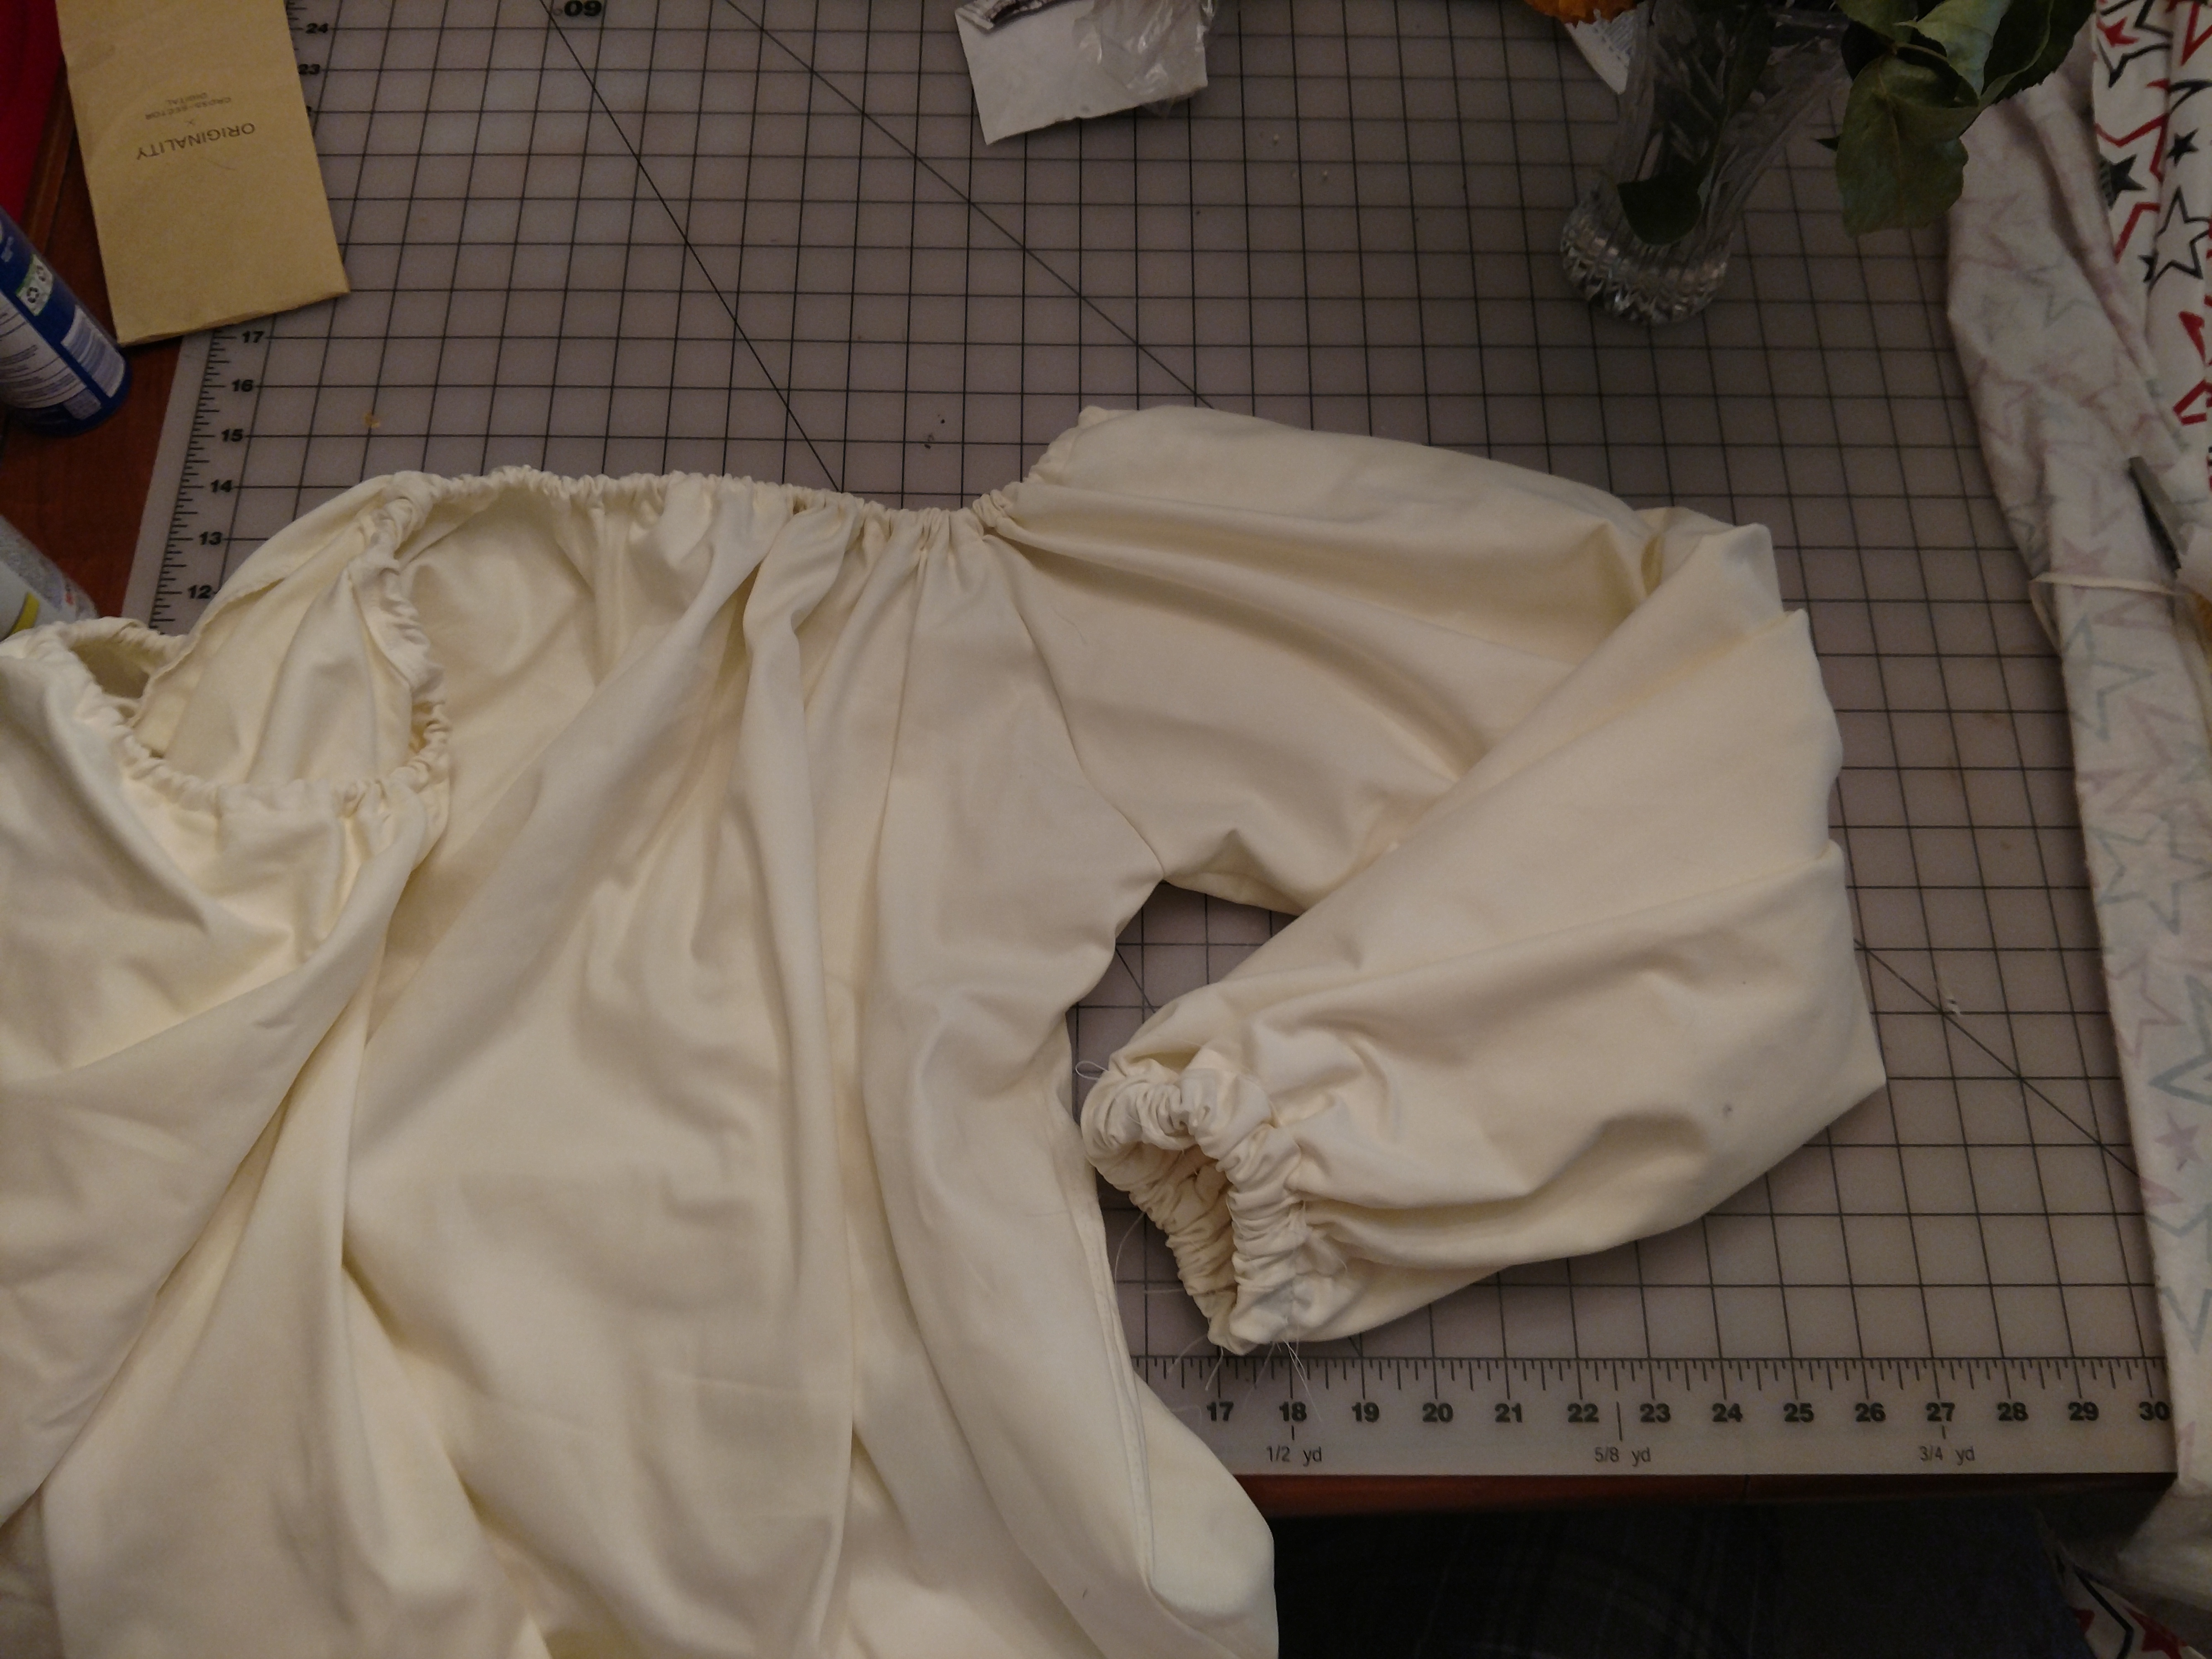
One of the reasons this chemise is quick to sew is that you have few cuts to measure. You only need two measurements on your own body; from your shoulder to your ankle (or wherever you would like your chemise to end) and around your upper arm. Lay out the fabric, folded. Make one cut through both layers of fabric about two inches longer than your shoulder to ankle measurement. This will be the front and back of your chemise. The second piece you are going to cut are your sleeves. Make a second cut approximately 22 inches. Before you cut, roll the fabric around your upper arm and over your shoulder. If 22 inches does not reach, give yourself a few more inches.
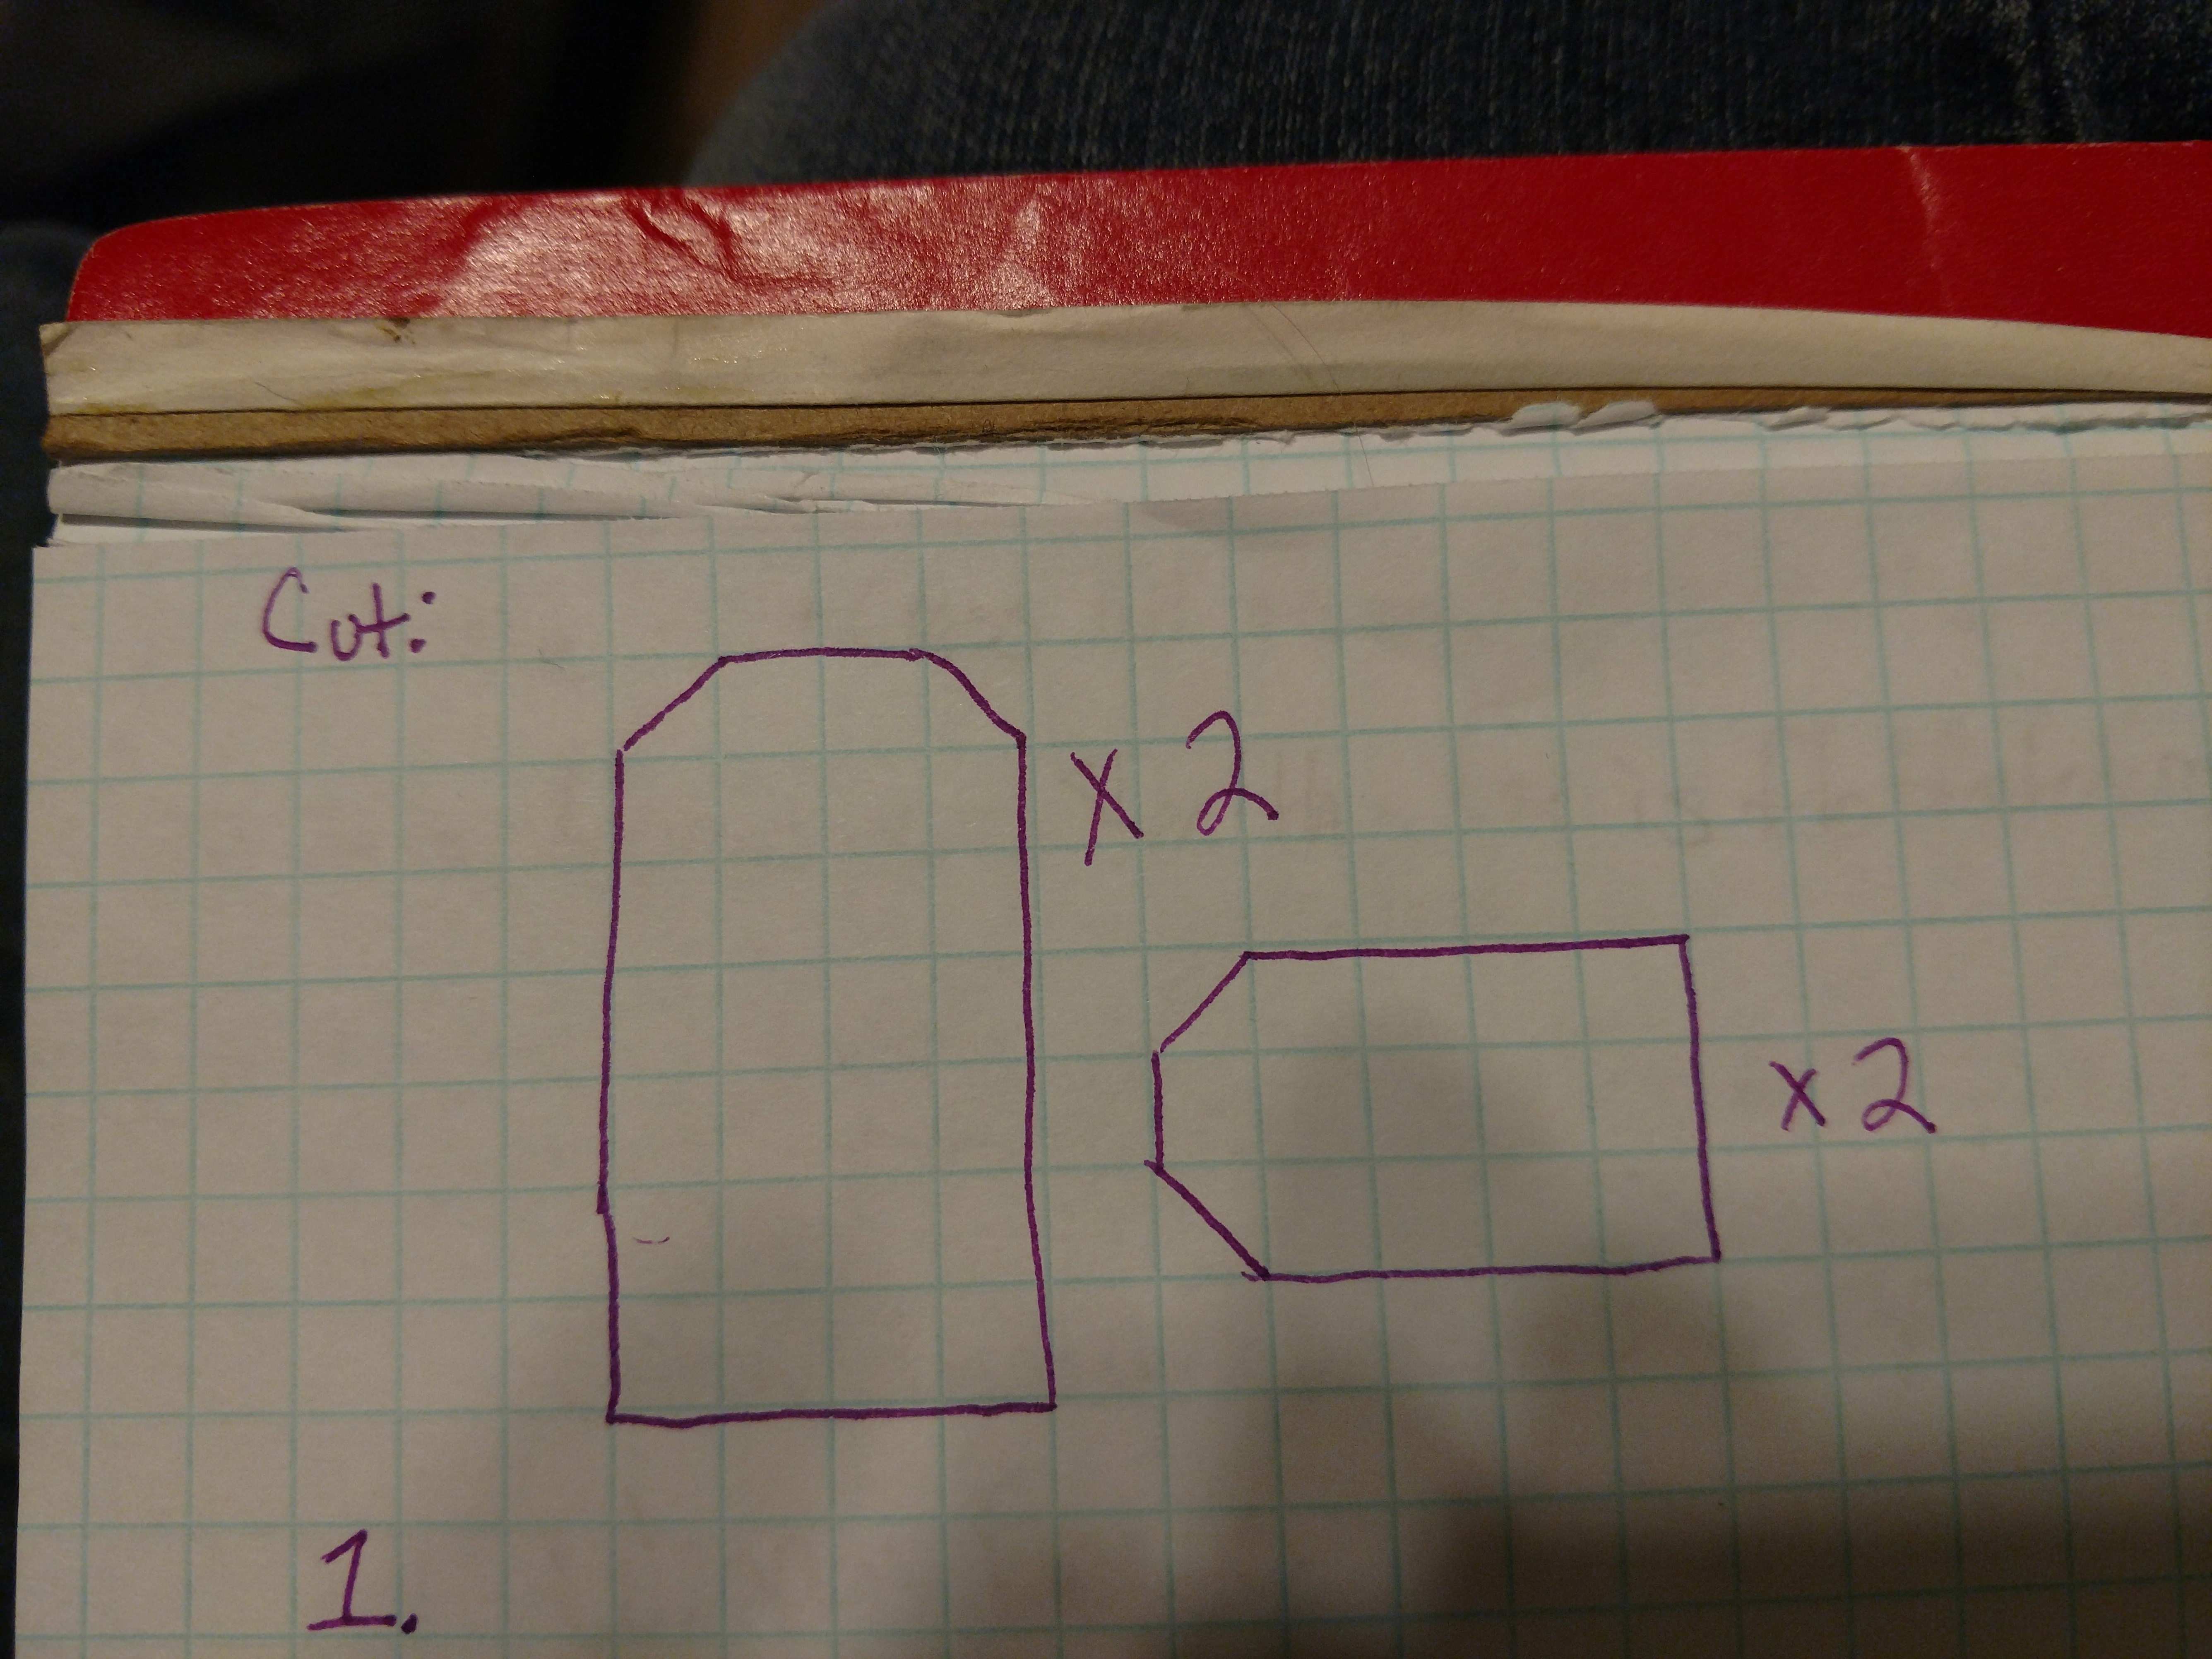
Cut along the fold of each piece of fabric so you now have a total of four pieces.
Put your sleeves together, and fold them in half lengthwise. On the short end, cut a small triangle out. I measure in about 7” on both sides and cut out the space between. Do the same thing with your front and back pieces. This gives me a little extra space in the arms than if I had left the fabric intact.
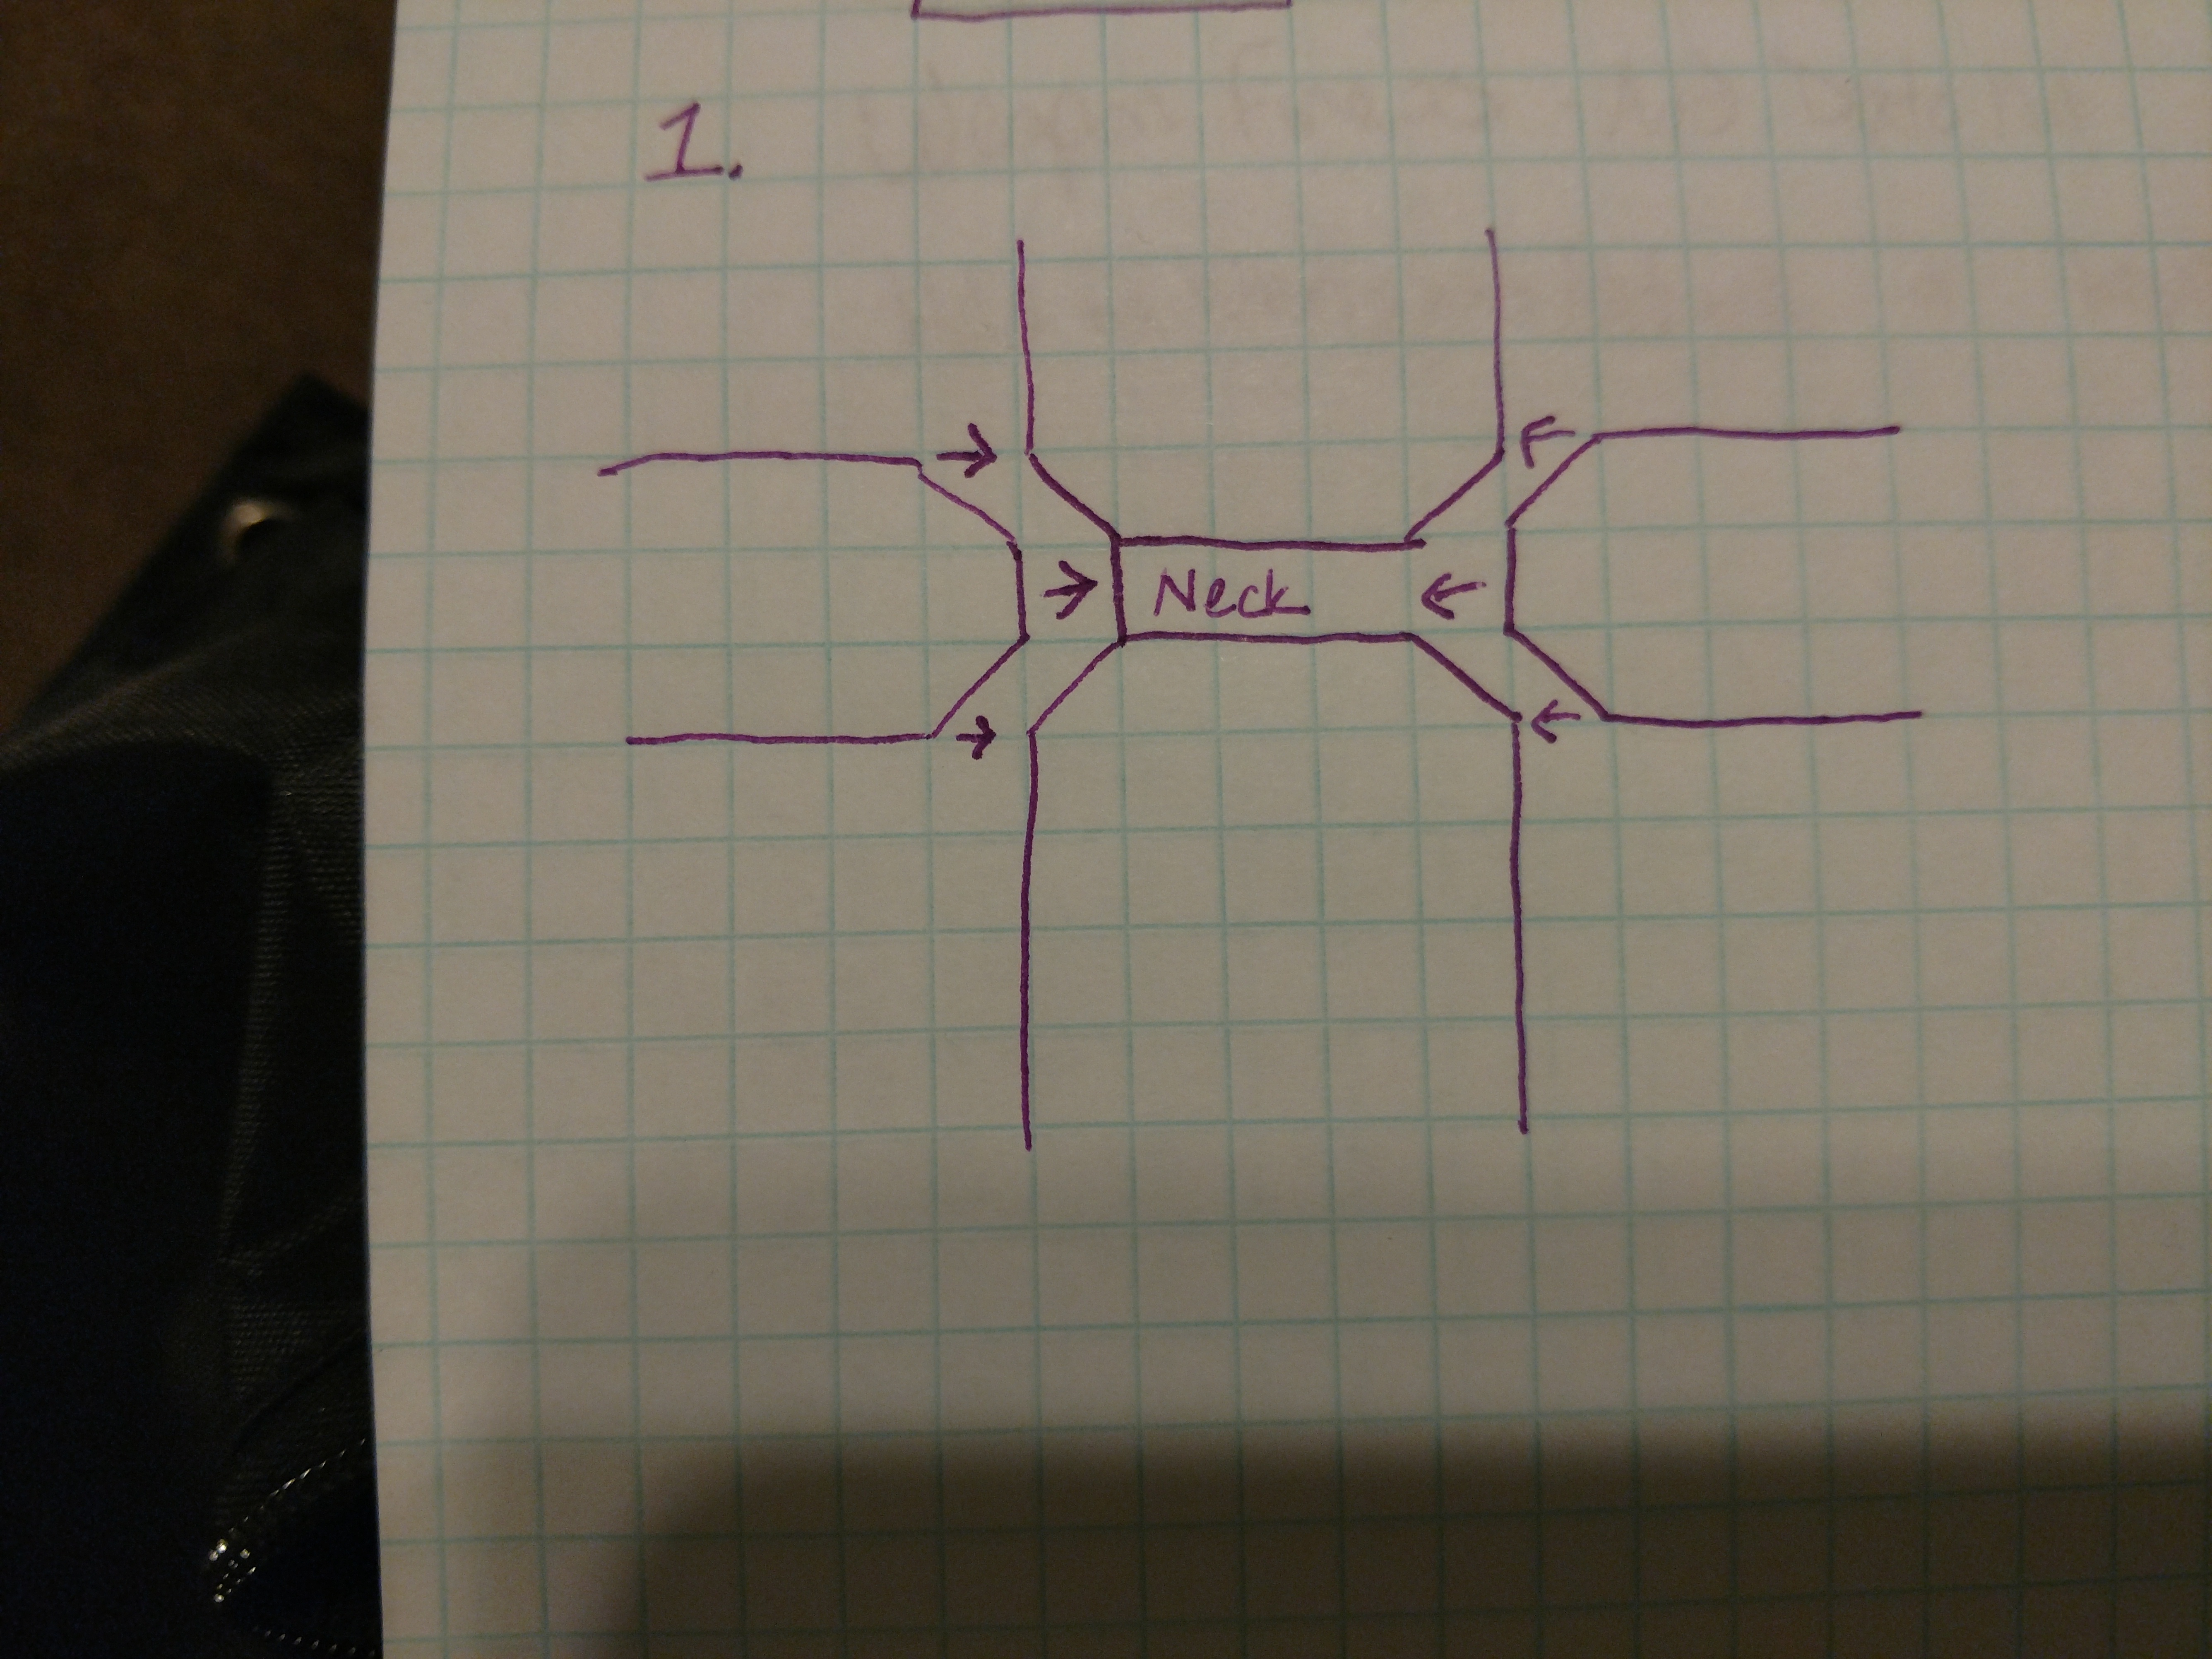
To keep this quick, I do not pin the seams together while I sew until I get to the neckline. The neckline is trickier, so I need the pins to hold it while I try to force it into submission. Match up the cut outs of the sleeves and the cut outs of the panels. Sew the cut outs together. Then, starting at the bottom, sew up the seam between the front and back panels with a zig zag stitch. The seam will continue through the armpit and down the sleeve.
Fold over neckline and finish it with a zigzag stitch so that it does not fray. Find the middle of one of the panels. This will now be the front. Pin your drawstring in place. You are creating the pocket for the drawstring to live in. Fold over the top of the neckline. Pin it in place below the drawstring. I try to leave a little extra space for the drawstring to move, about 1/4 inch. Sew a regular running stitch around the neckline below the drawstring. Leave enough space for the strings to come out of the pocket in the very middle. When you pull them both, they will tighten the tighten the neckline of the chemise. You will need enough ribbon in order to tie the chemise and to ensure the ties do not slip back into the garment. You can cut off any extra ribbon. You will use the rest of the ribbon to do the same thing to each arm.

Try your chemise on. If it is hanging the way you want it and it is not too long, you’re almost done! If it is too long, have someone help you pin it where the hem should be.
If you turned your chemise right-side out to try it on, be sure to turn it inside out again before you do your hem. I also do not usually pin my hem when I sew it. If I have more than half an inch of hem, I will pin it first and fold it up several times like a French seam. Otherwise, I will just sew it as straight as I can with a zig zag stitch.
Congratulations, you now have a wearable garment! For more tips and tricks, subscribe to Gryffin’s Landing to get email updates every time we post something new.