
Gryffin Tries: Canning Corn
Canning is one of the many skills that almost every American born in the 1930’s knew how to do. There are fewer people in the next generation, and even fewer born after 1980. It is not a skill we use as much today, though it is still popular. Depression era families had to grow their own gardens to supplement their food sources, even if they just had a little patch of Earth to plant. When more families had at least one parent to stay at home, housewives had more time to prepare food than families with two working parents. With the way that food today is packaged and sent all over the world, we are spoiled! We can get strawberries, avocados, corn and apples year-round at the grocery store. We can grow more fruits and vegetables in more of the country due to greenhouses, temperature control warehouses and trucks, and hybridization of plants. In the past, the price and time it took to ship these items from the places they grew best made it so certain fruits and vegetables were only available a few months each year. All these reasons made canning a great option to have a wider variety of food for the whole year.
There are several ways to can food. Most residential canners use glass jars with rings and lids. The jars I have in my basement are by Ball or Atlas. Before starting, check the tops of all of your jars to ensure there are no cracks or chips. If the top rim of the jar is not entirely smooth, you may not get a good seal, which can cause a host of food borne illnesses such as botulism. If you’re not sure about a jar, don’t use it. The risk of getting yourself or your family sick is not worth the money to buy a new jar. The biggest mason jar manufacturers are Newell Brands, the parent company of Ball and Kerr, Anchor Hocking and Leifheit. The jars and rings are reusable, but modern lids come with a rubbery ring that is only meant to be used once. You heat the lid up and clamp it to the jar with the ring. After canning, as the sealing compound cools, the lids make a popping sound, letting you know that they have adhered to the jar. You can remove the rings after the lids have fully adhered, but I like to leave them on. They protect the jar a little more.
For wet canning, you can use a pressure cooker method or a water bath method. For the corn, we decided to use the pressure cooker method. Check out this beauty!
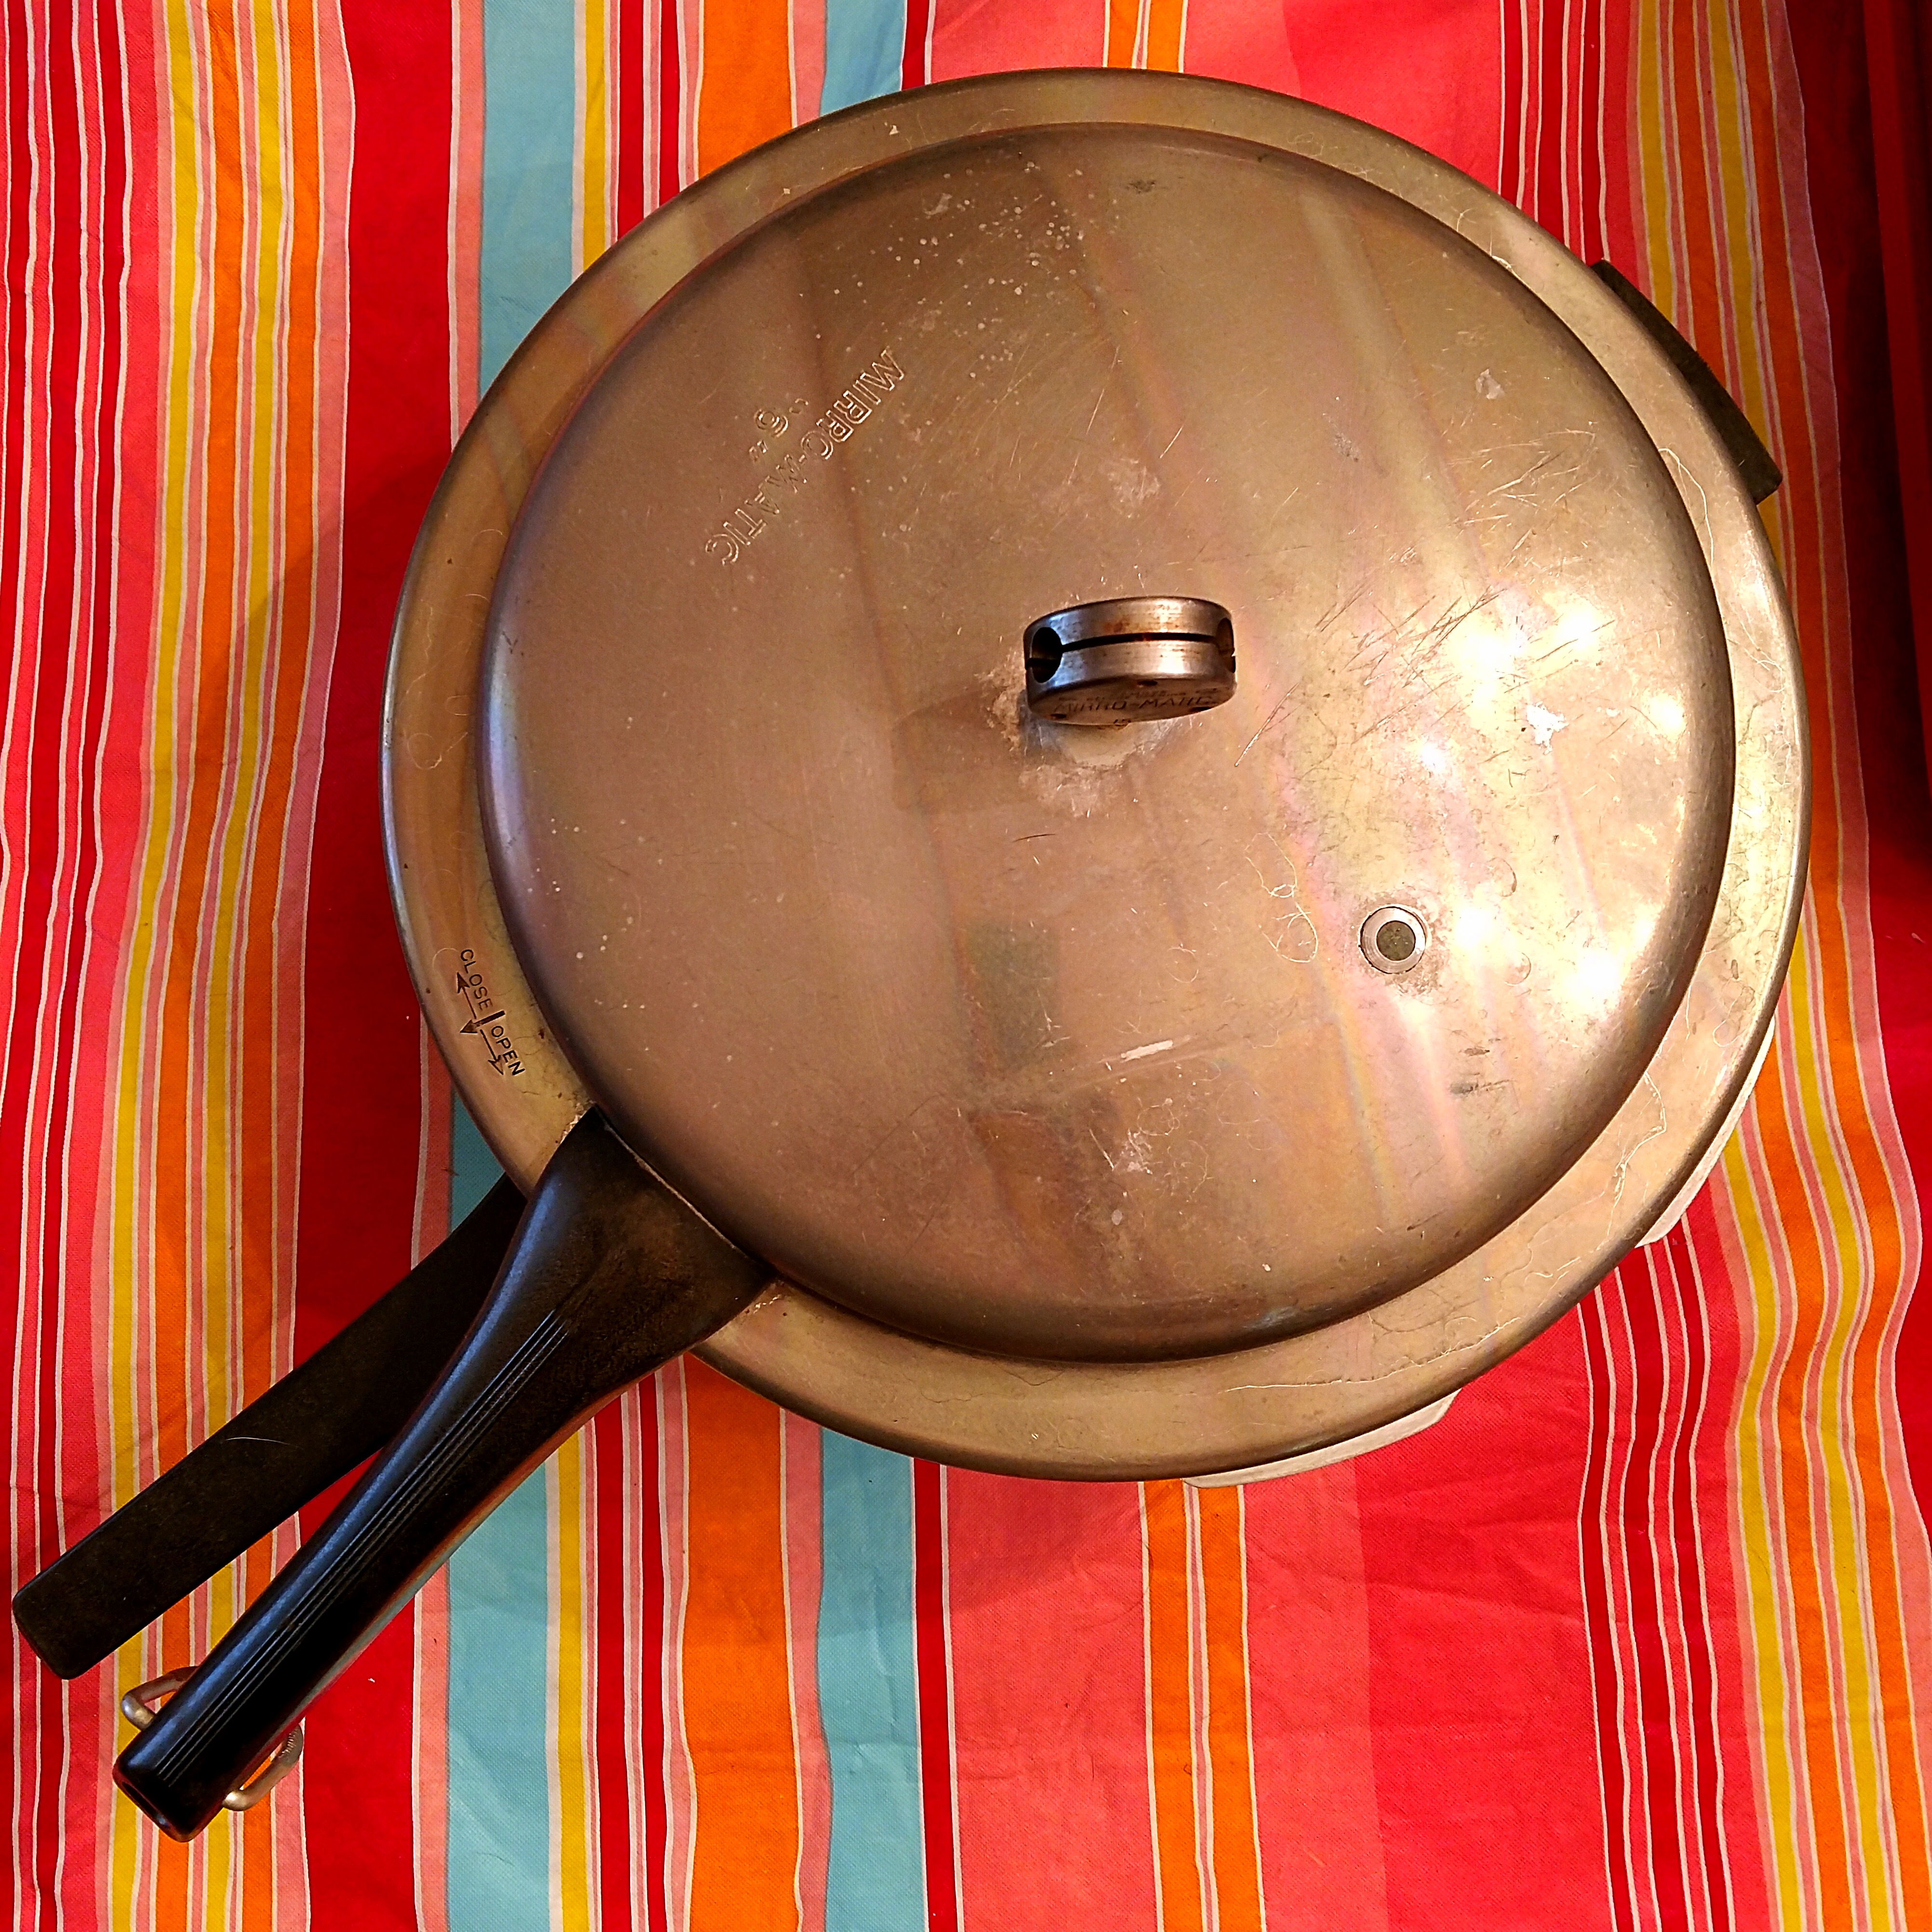
She was my grandmother’s, and she came with a helpful little book. Book is maybe a strong word for the current state of this collection of very fragile papers. The information is still readable though! Did you know you can put entire meals in these jars and leave them sit on the shelf for months? I don’t think I’ve ever had home canned meat. This would be so helpful for our long camping trips! I’ll have to see how it tastes later though…
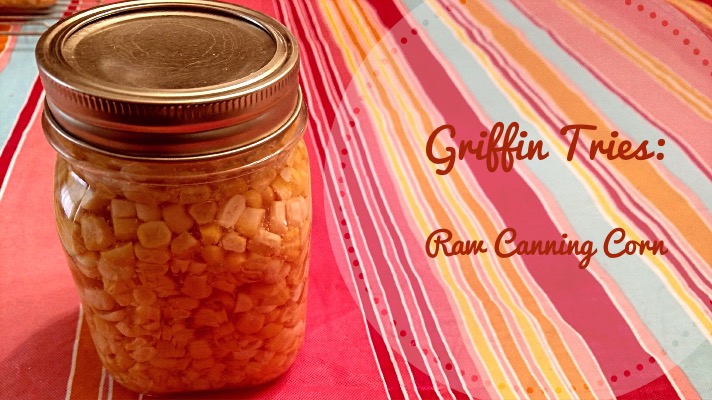
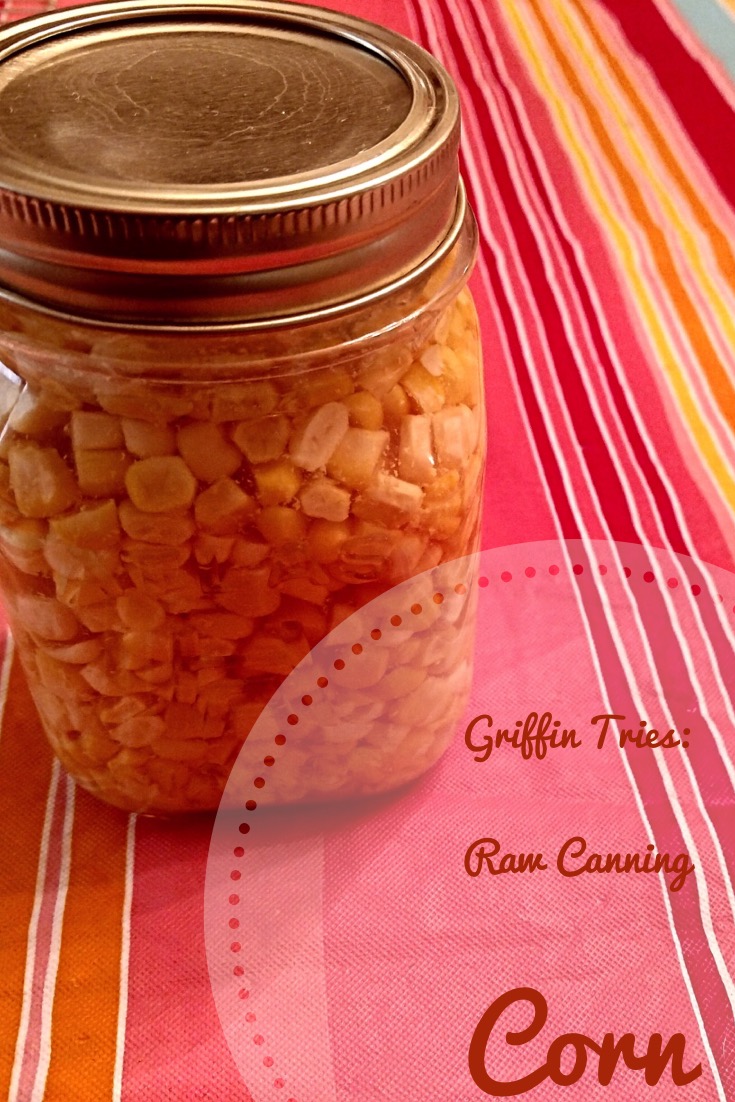
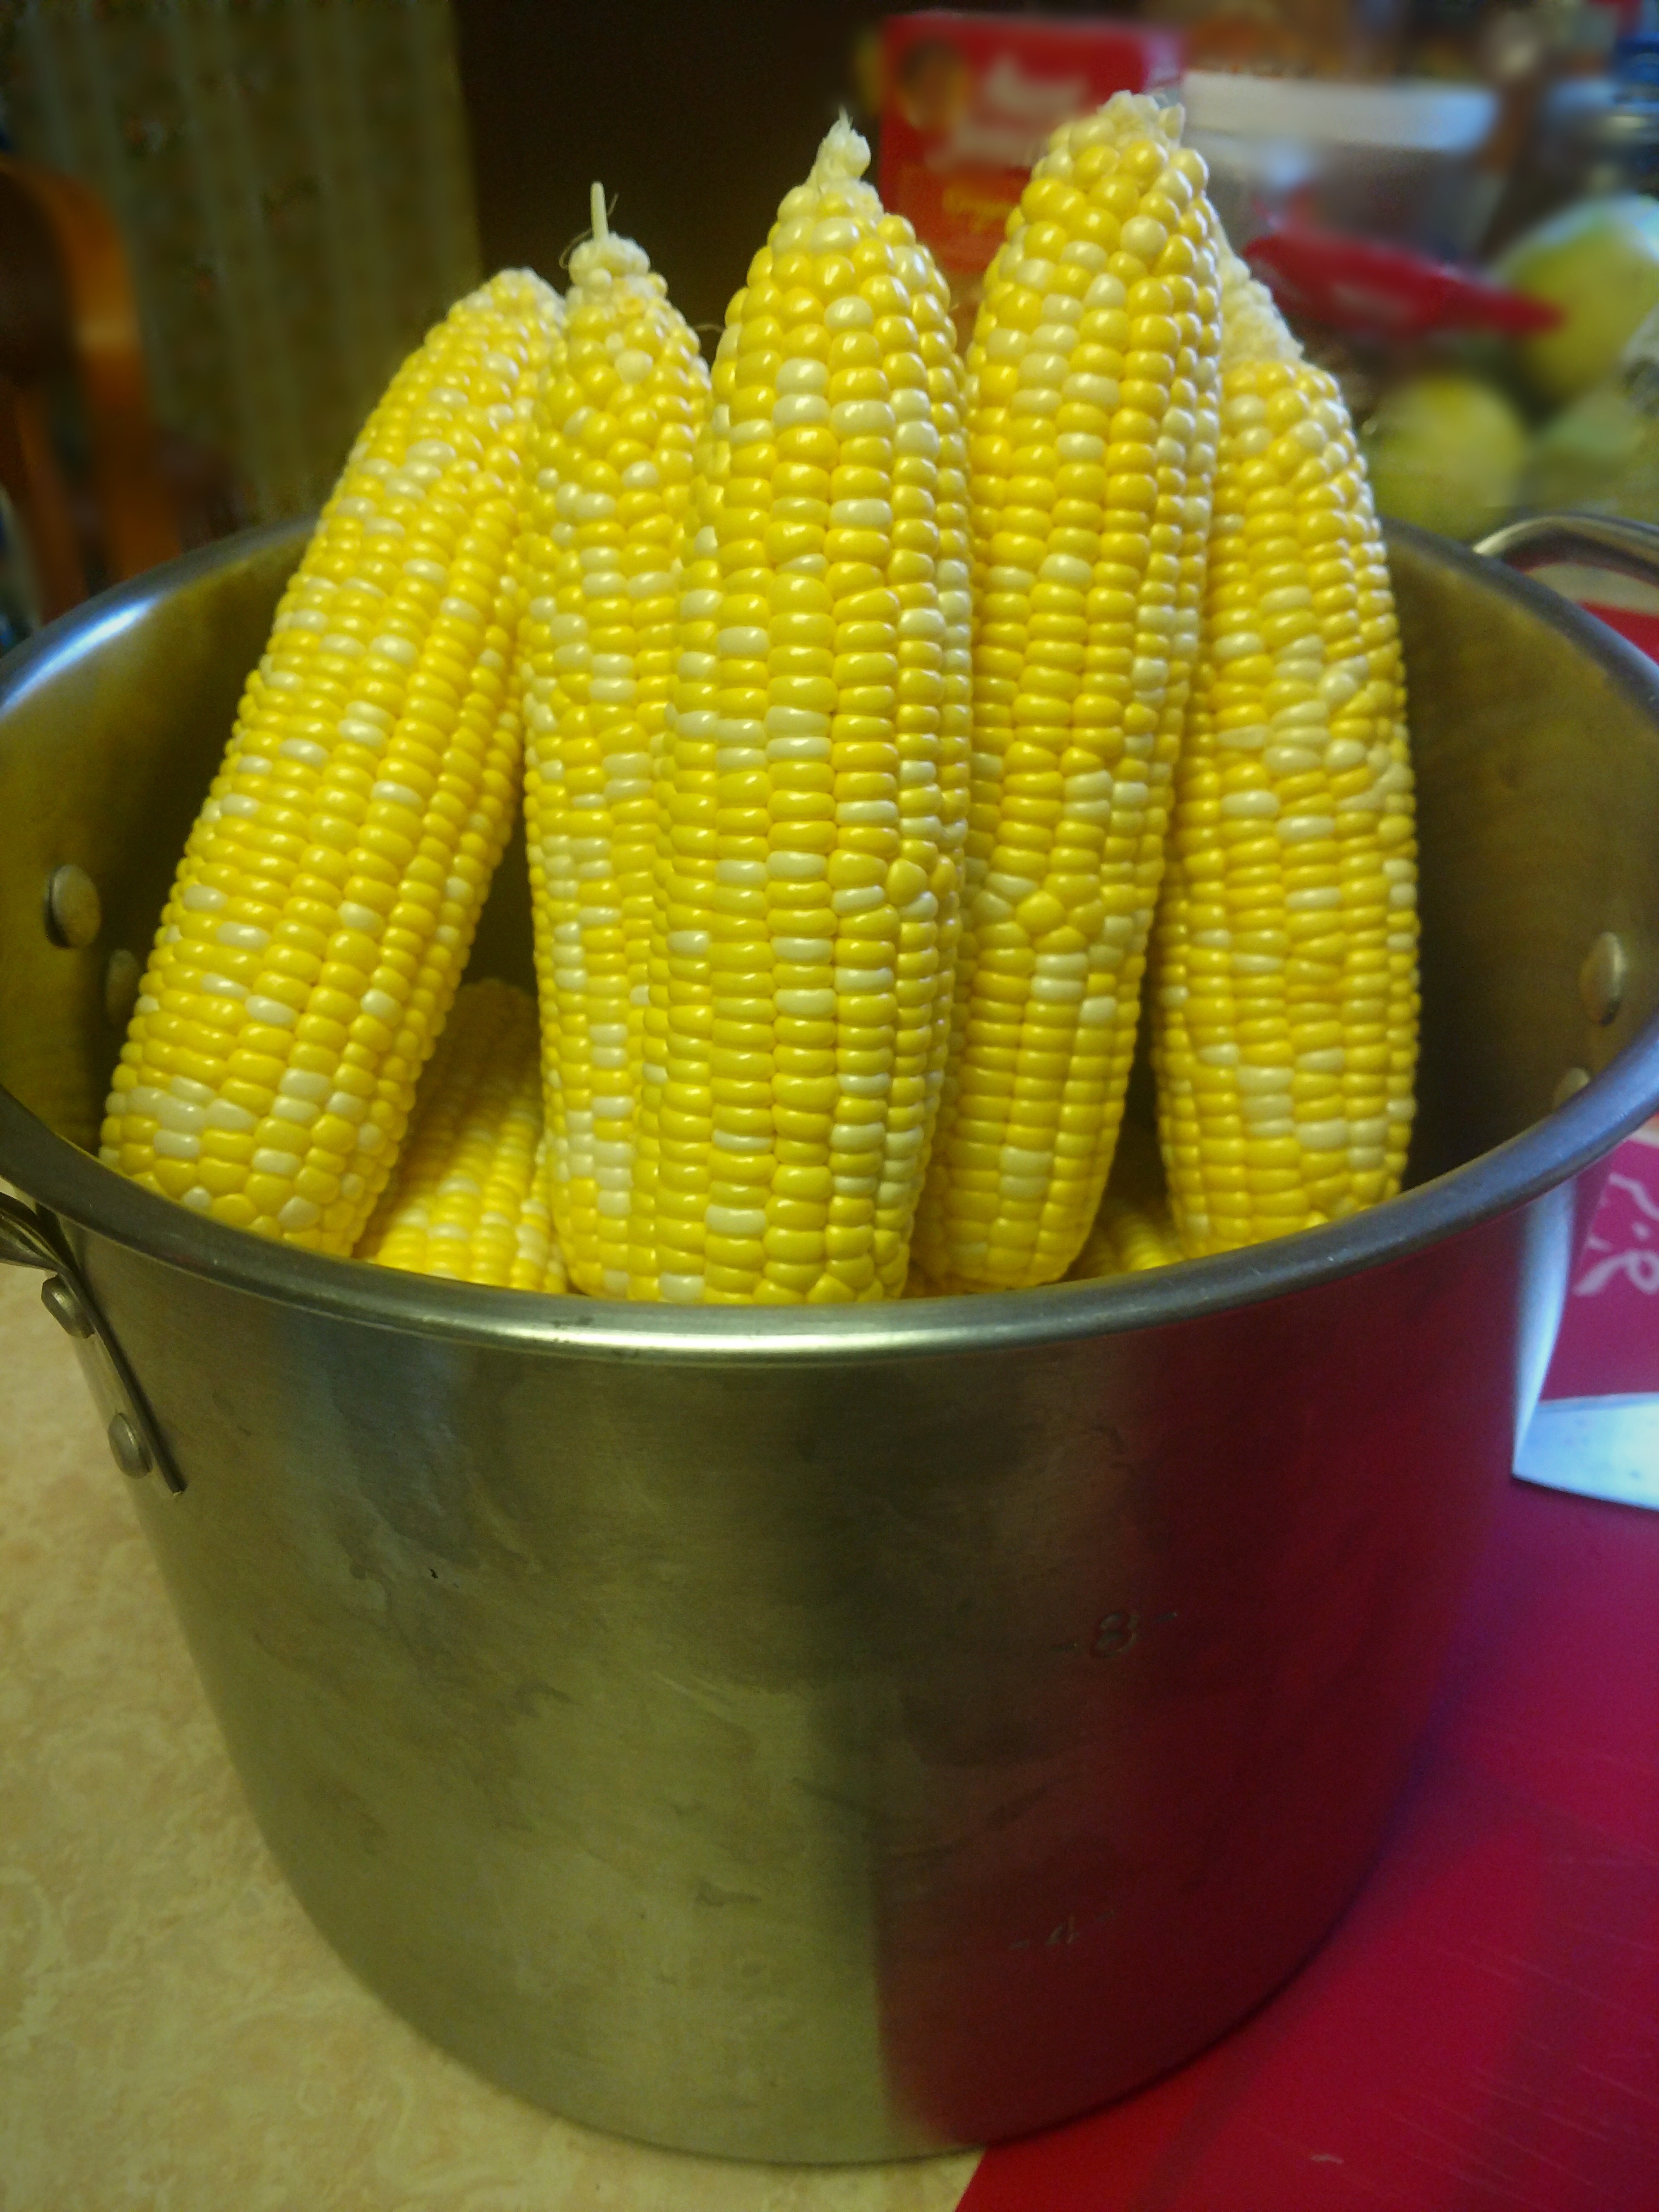
Corn was on sale here last week. There is always something about fresh corn that just tastes better than the commercially canned corn. I guess we’ll see if it is actually the corn, the canning process, or if maybe the better taste is all in my head. I got two dozen ears for $4.00. With most vegetables you can either cook them and then can them or raw can the veggies. This time, I decided to try raw canning. I love the crispyness of the corn and I thought that cooking it only when I was ready to eat it would keep that crisp texture.
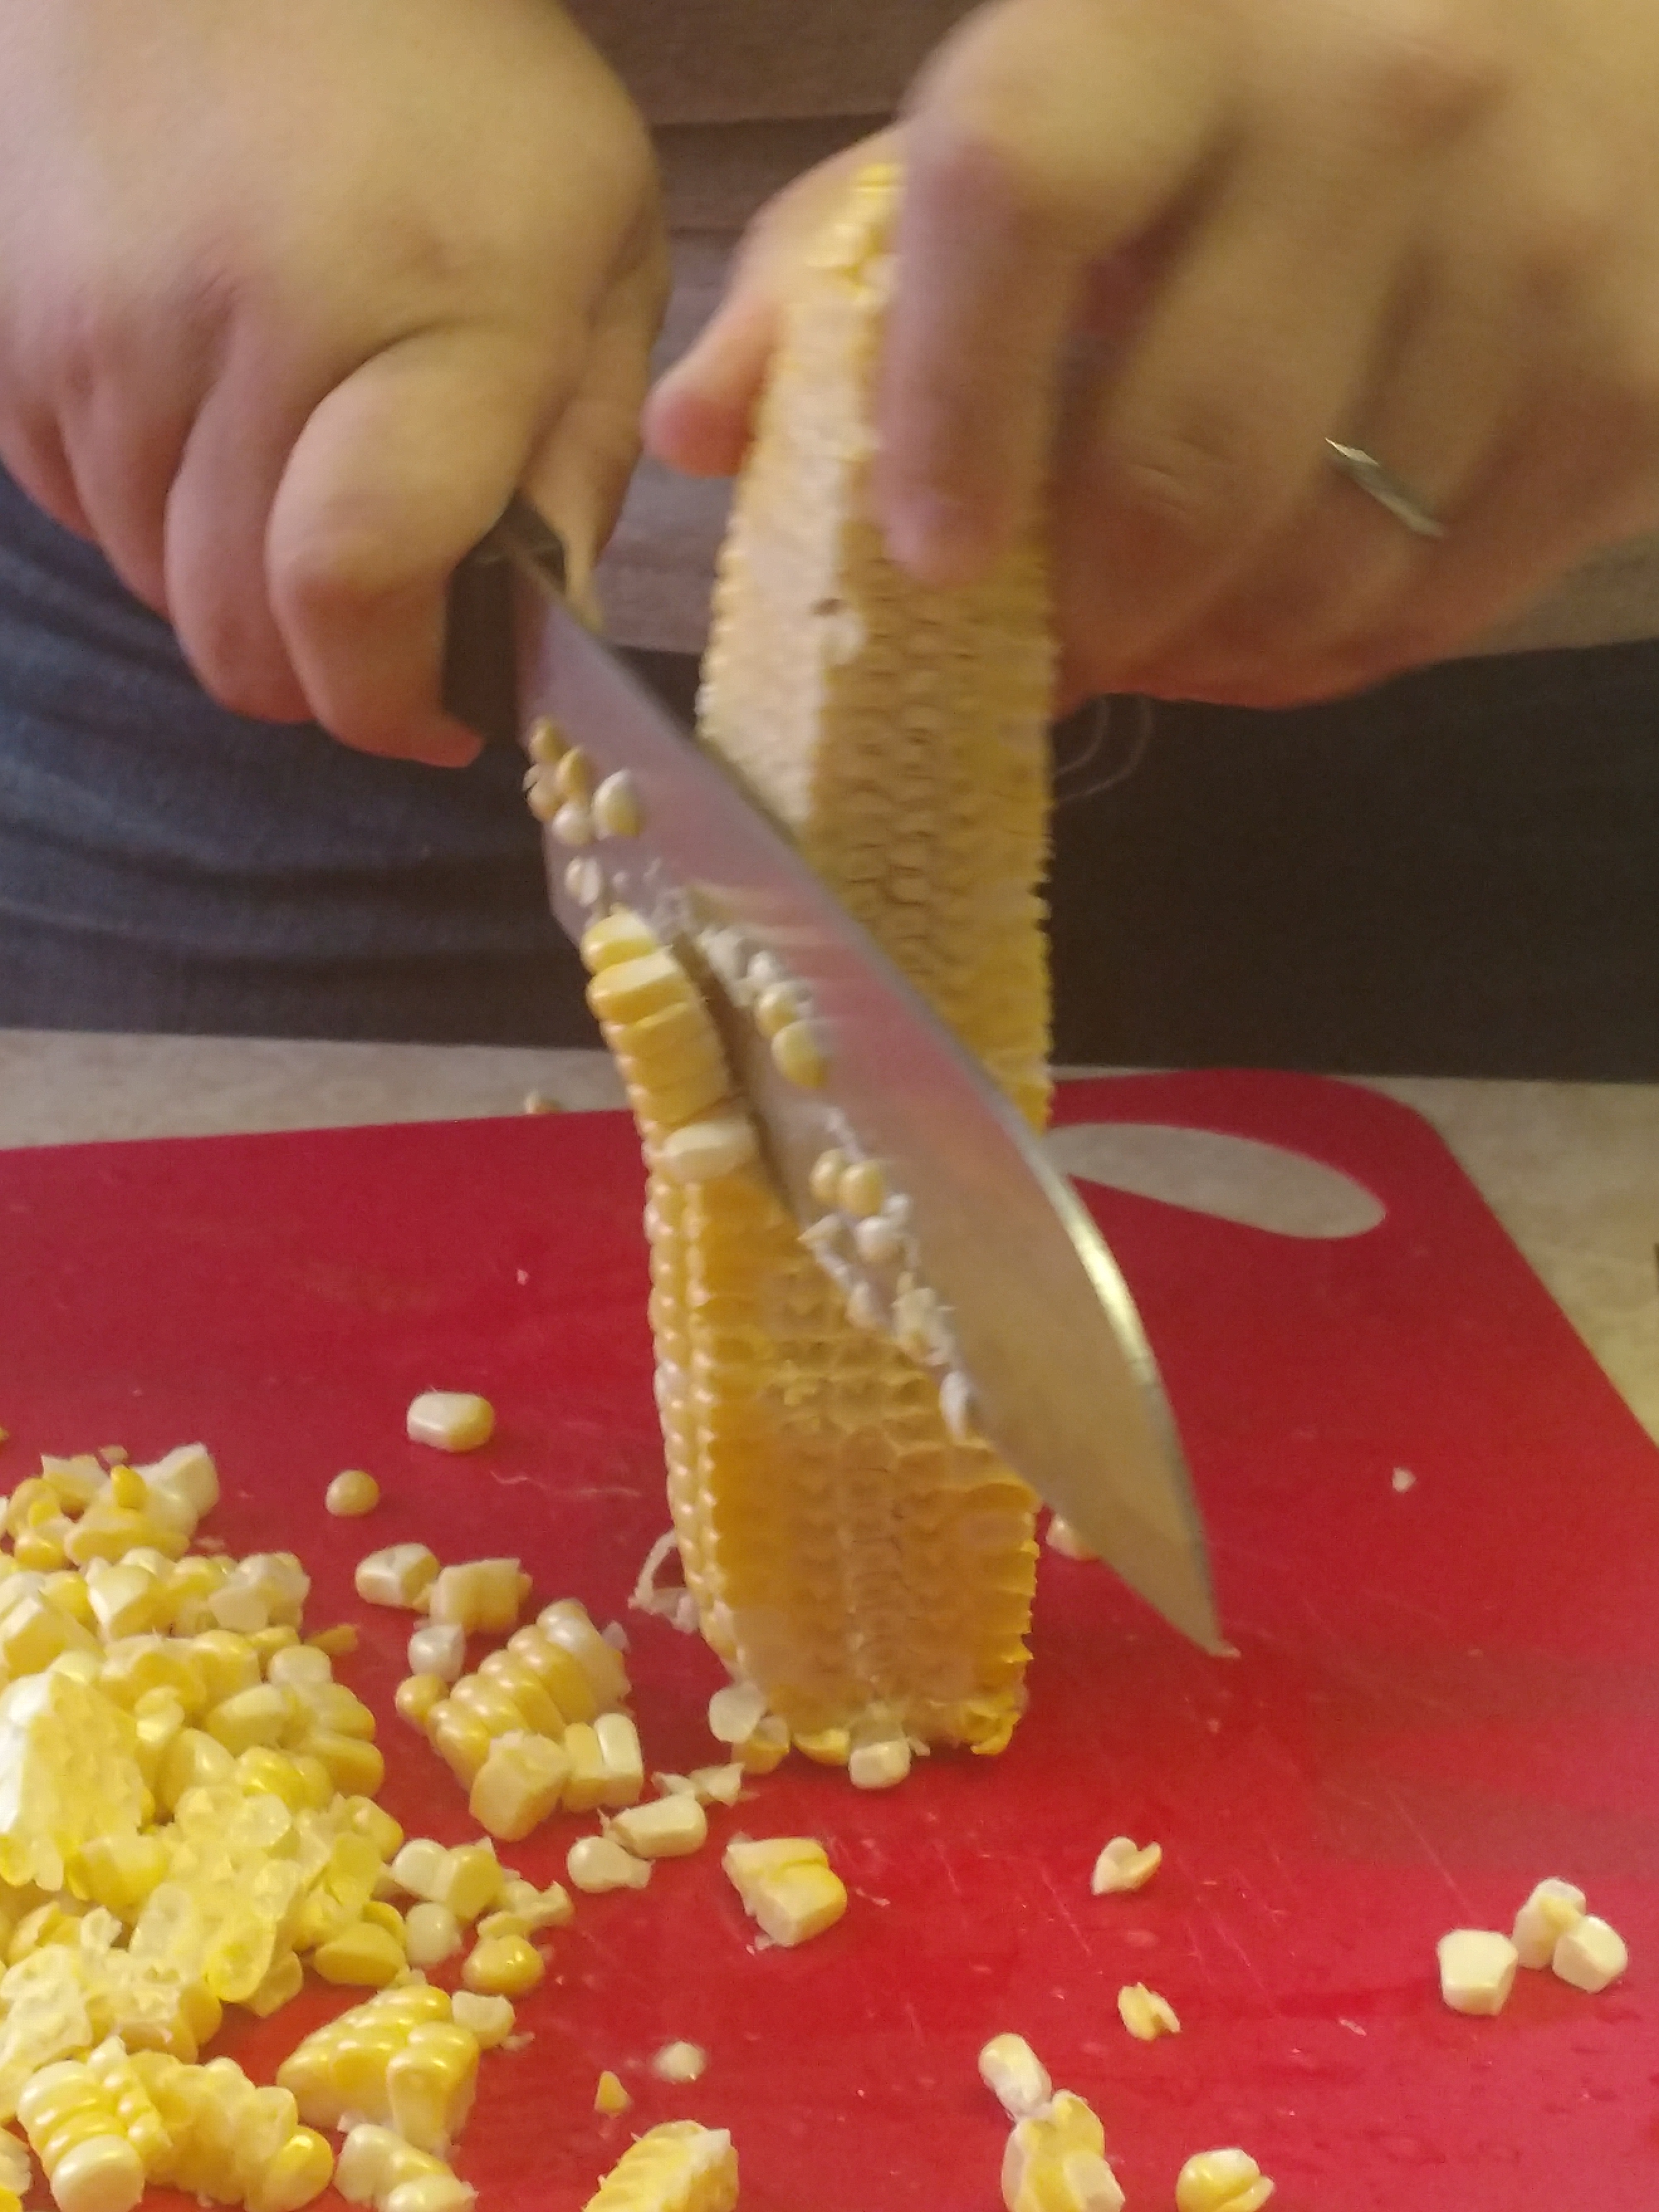
First I need to prepare the corn for canning. My mom helped me to husk all the corn while I scraped it off the cob. Hold the cob upright on a cutting board or mat. Using a sharp knife, scrape the kernels off the cob from top to bottom. I wanted to try to keep as many kernels whole as possible without getting a lot of the cob into the jars. The cob is full of sugars, but I do not want to put many bits of corn into the cans. I am afraid I will make the whole jar mushy. Plus, I have plans for the cobs later; the extra sugars and corn flavor will be better left on the cob. We got about 7.5 pints out of the two dozen ears.
I found differing information about the amount of salt you need for a pint of corn in the pressure cooker instruction book. One page said corn needed 1 tsp for each pint, the other said ½ tsp for each pint. The salt is used as a preservative, so your corn may not stay good as long if you just leave it out. The first batch I used 1 tsp, the second batch I used ½. Most of the other information I have read online says you only need ½ tsp.
Instructions:
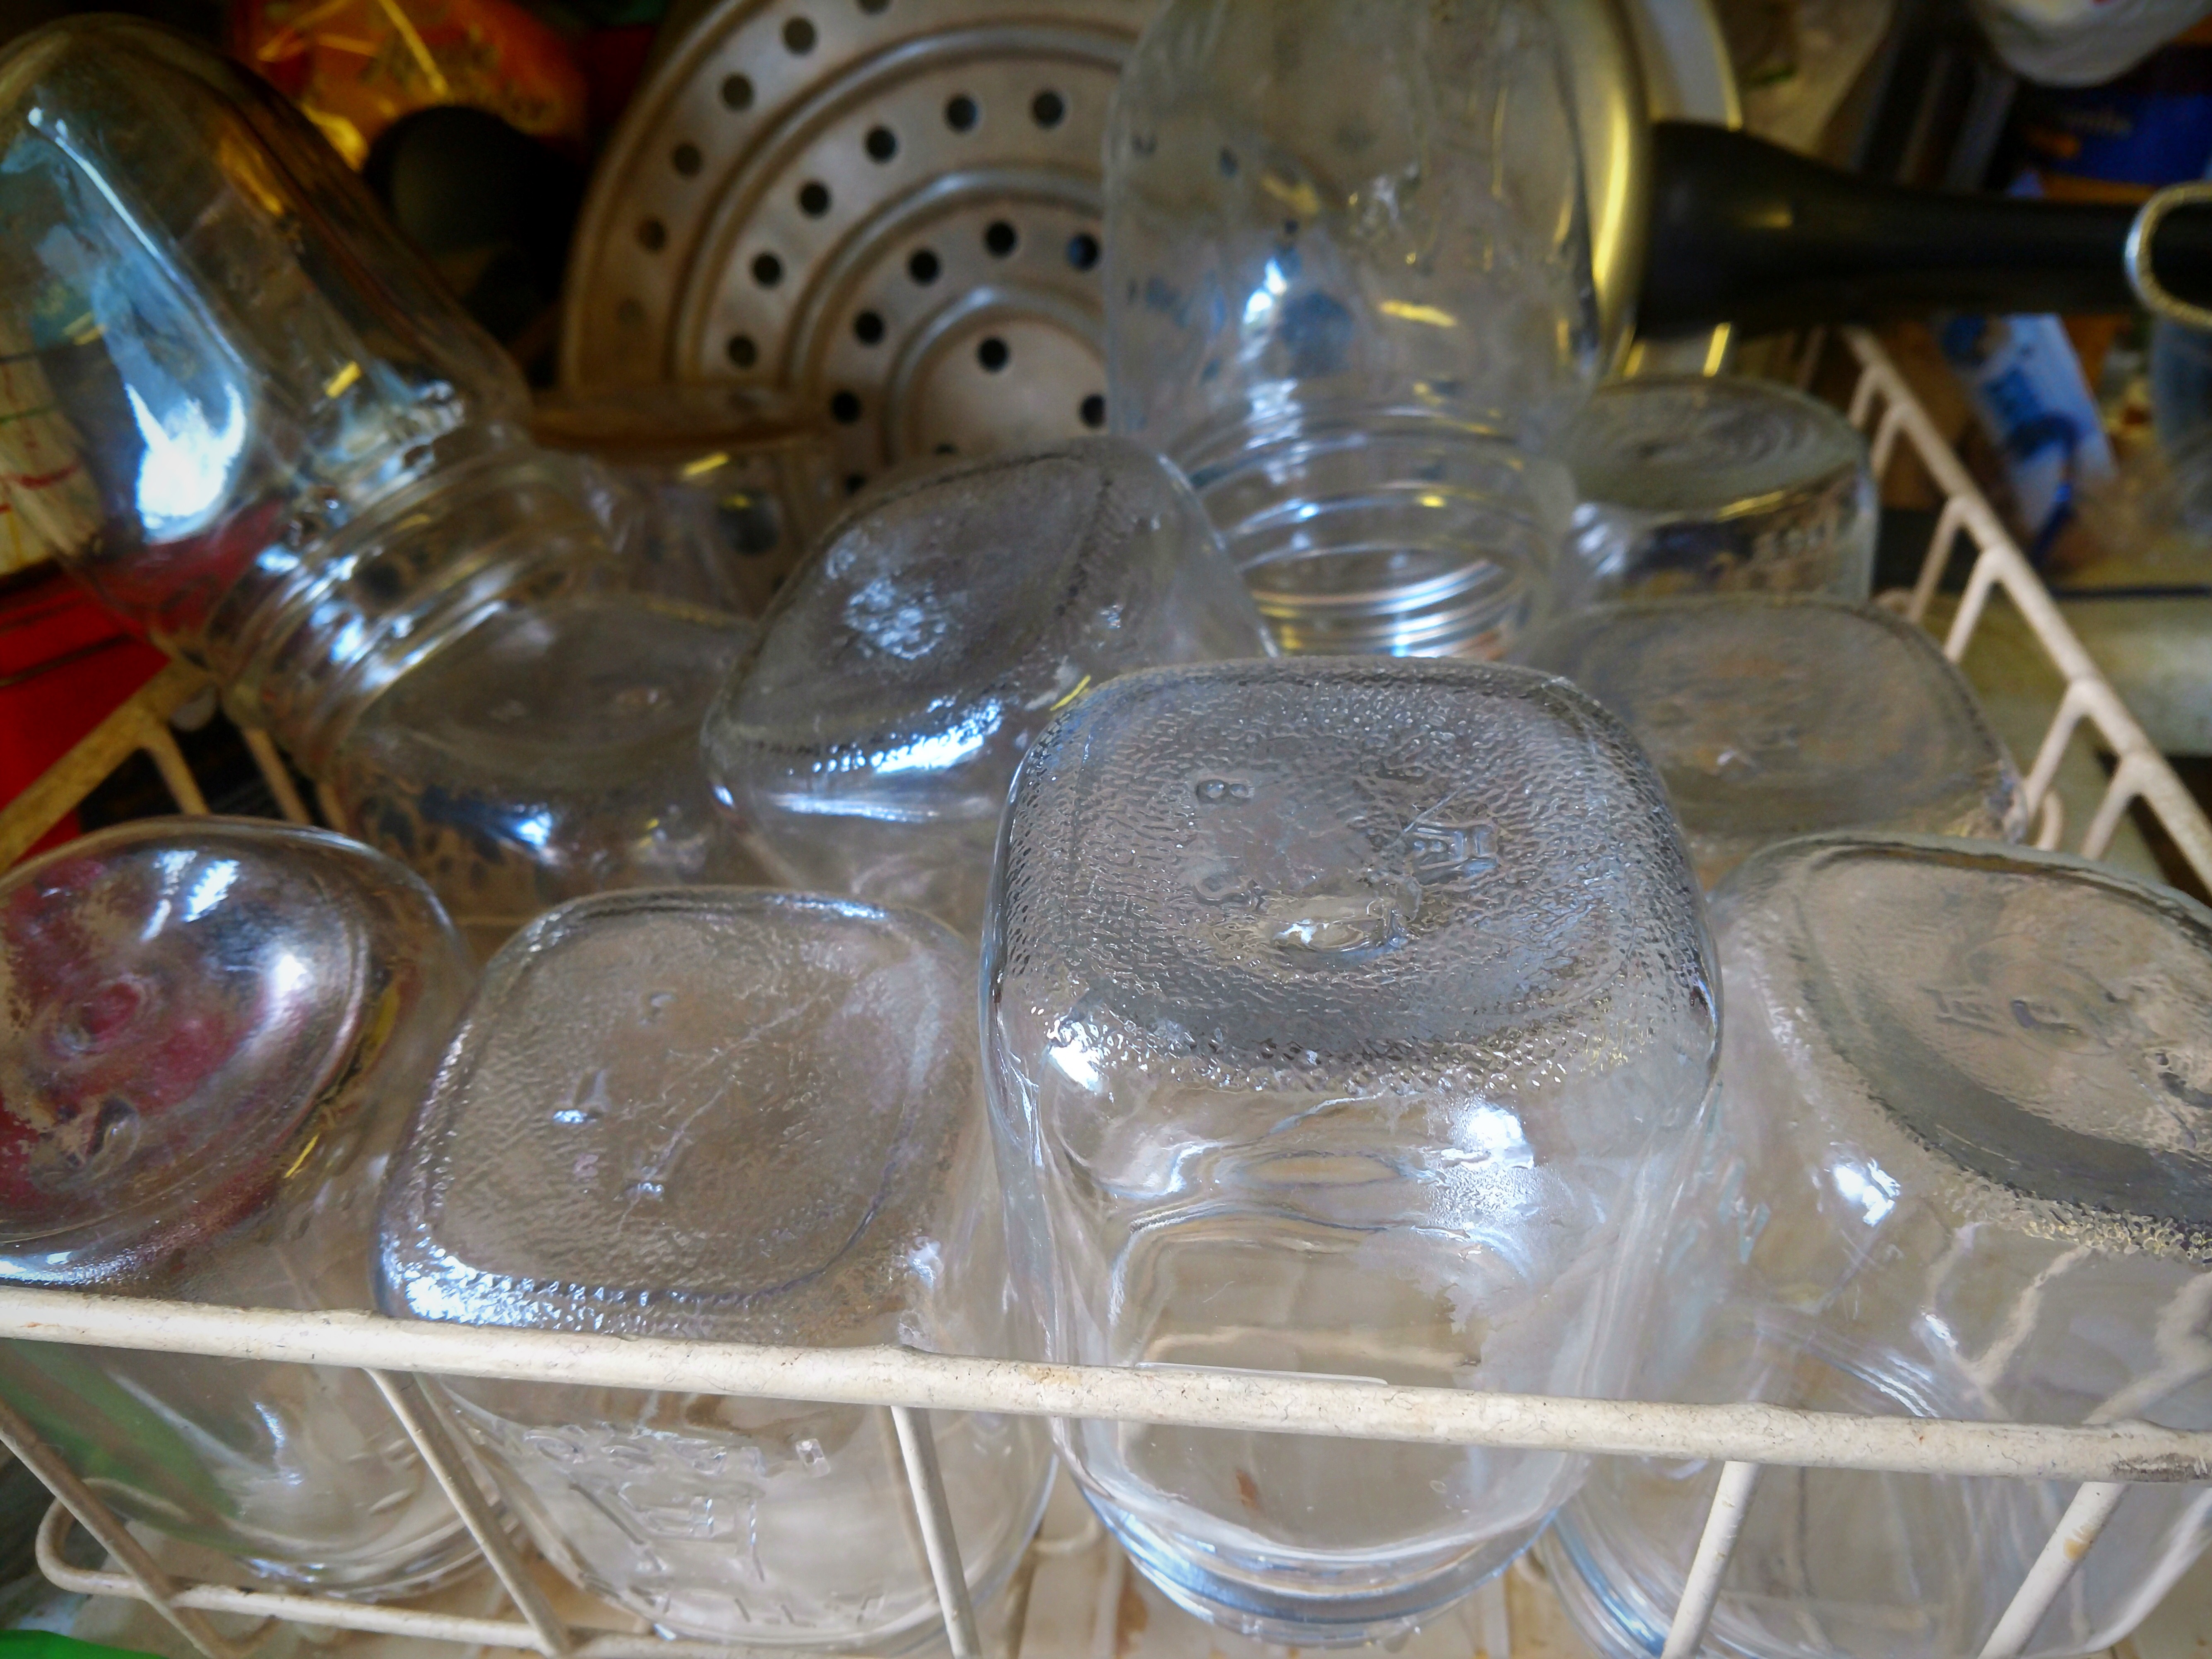
- Wash all of your hardware in hot, soapy water. I put the jars in the oven on warm to dry them quickly, and to just heat them up a little before I pour boiling water into them.

- Put the kettle on and bring it to a boil.
- Place the pressure cooker on the stove and put about 2-3 inches of water in the bottom so it is ready when I put the lids on the jars. You may need more water if you do not fill it with pints. Check the owners’ manual with your pressure cooker.
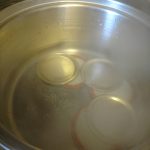
- Put the number of jar lids you will need for your first batch into a small sauce pan and cover them with water. Let the lids heat up. They do not have to boil, but we are attempting to soften the sealing compound. My pressure cooker can fit up to 7 pint jars, so I should only need 7 lids. If you accidentally put too many lids in to simmer, that is okay. As long as the lid is not put on a jar, it is still usable later.
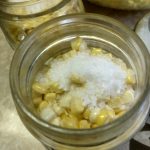
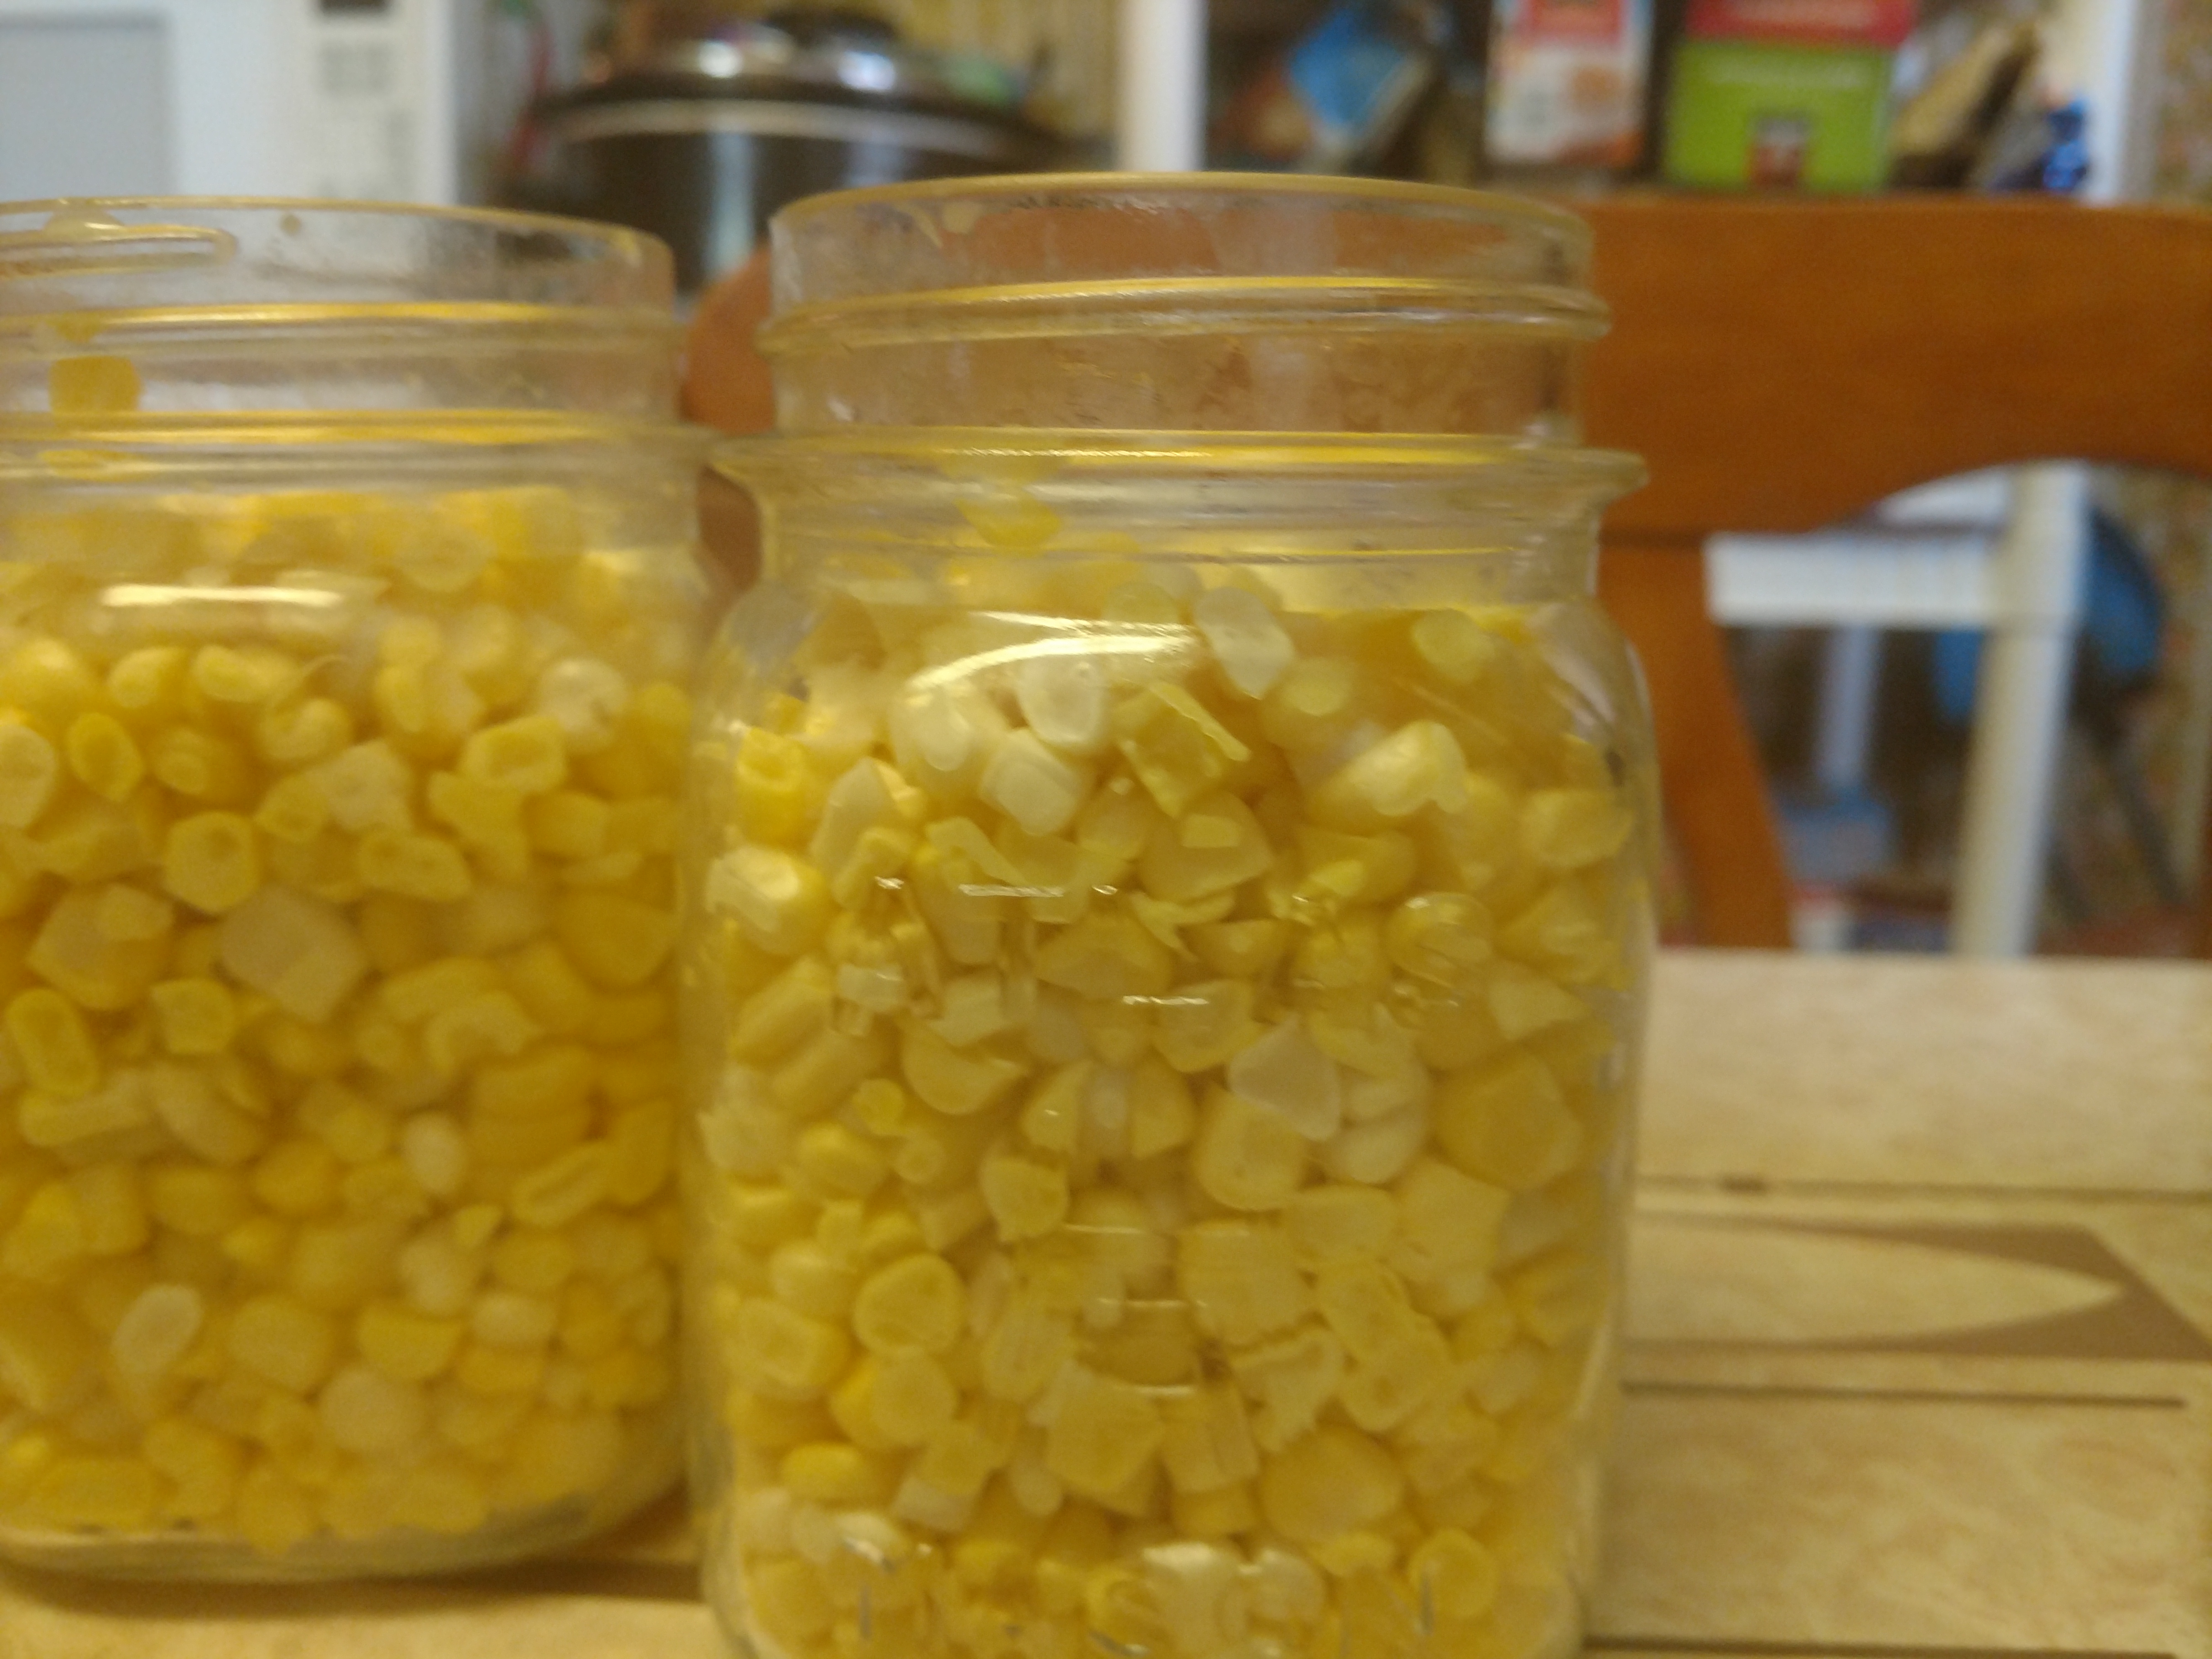
- Fill the jars with corn kernels. They are considered full when the kernels are about one inch below the rim. For corn, you do not tap or slam the jar on the table to get the kernels to settle. They need some extra space between the kernels.

- Wipe the tops of the jars to remove any stray corn.
- Put ½ tsp salt into each jar. You can add other spices as well, if you want to have pre-flavored vegetables.
- I turned on the burner under pressure cooker at this point to start heating the water.
- Pour boiling water from the kettle into the jar until it covers the corn. Do not fill more than 1 inch below the rim.
- Slide a butter knife into each jar and stir once gently. This helps to release any air bubbles.
- Wipe the tops of the jars to remove any moisture or other contaminates.
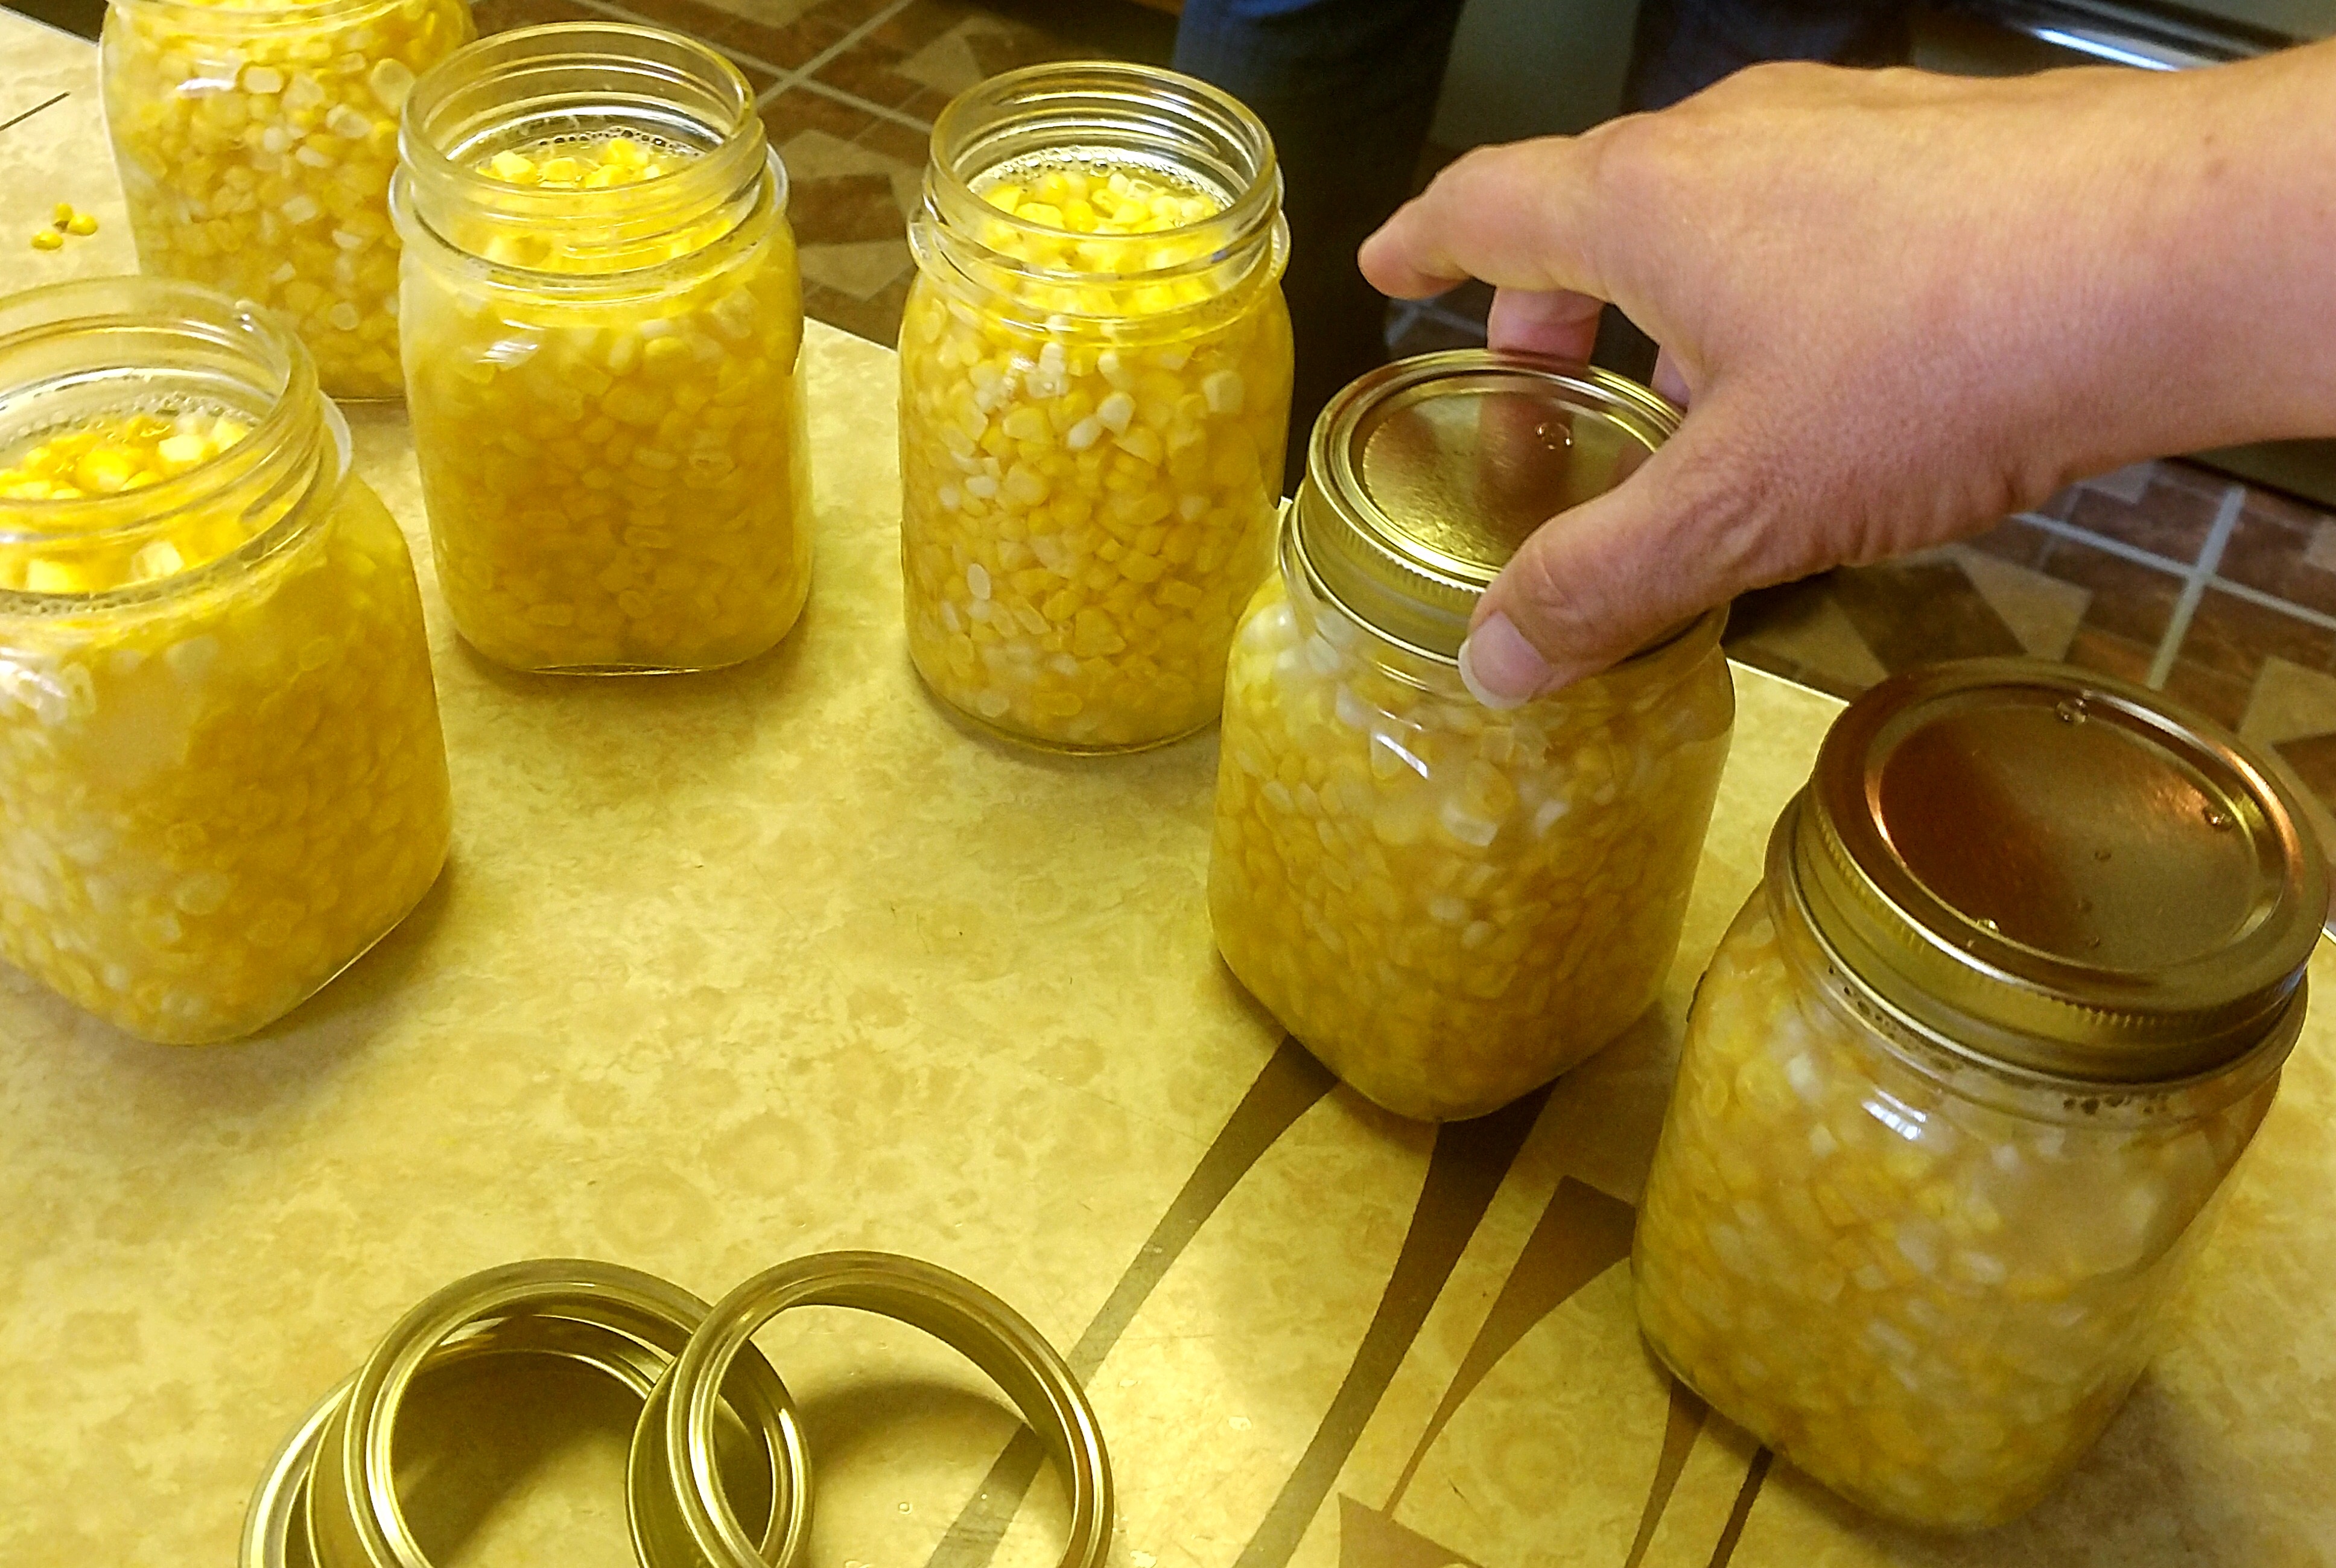
- I find this step easiest with two sets of hands. Using a canning magnet or a pair of tongs, remove the jar lid from the water bath. Don’t touch the underside of the lid with your hands; you don’t want to interfere with the sealing compound. I try to avoid touching it with the magnet or the tongs as well. Place the lid on a jar and tighten a ring over both.

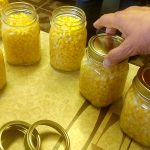
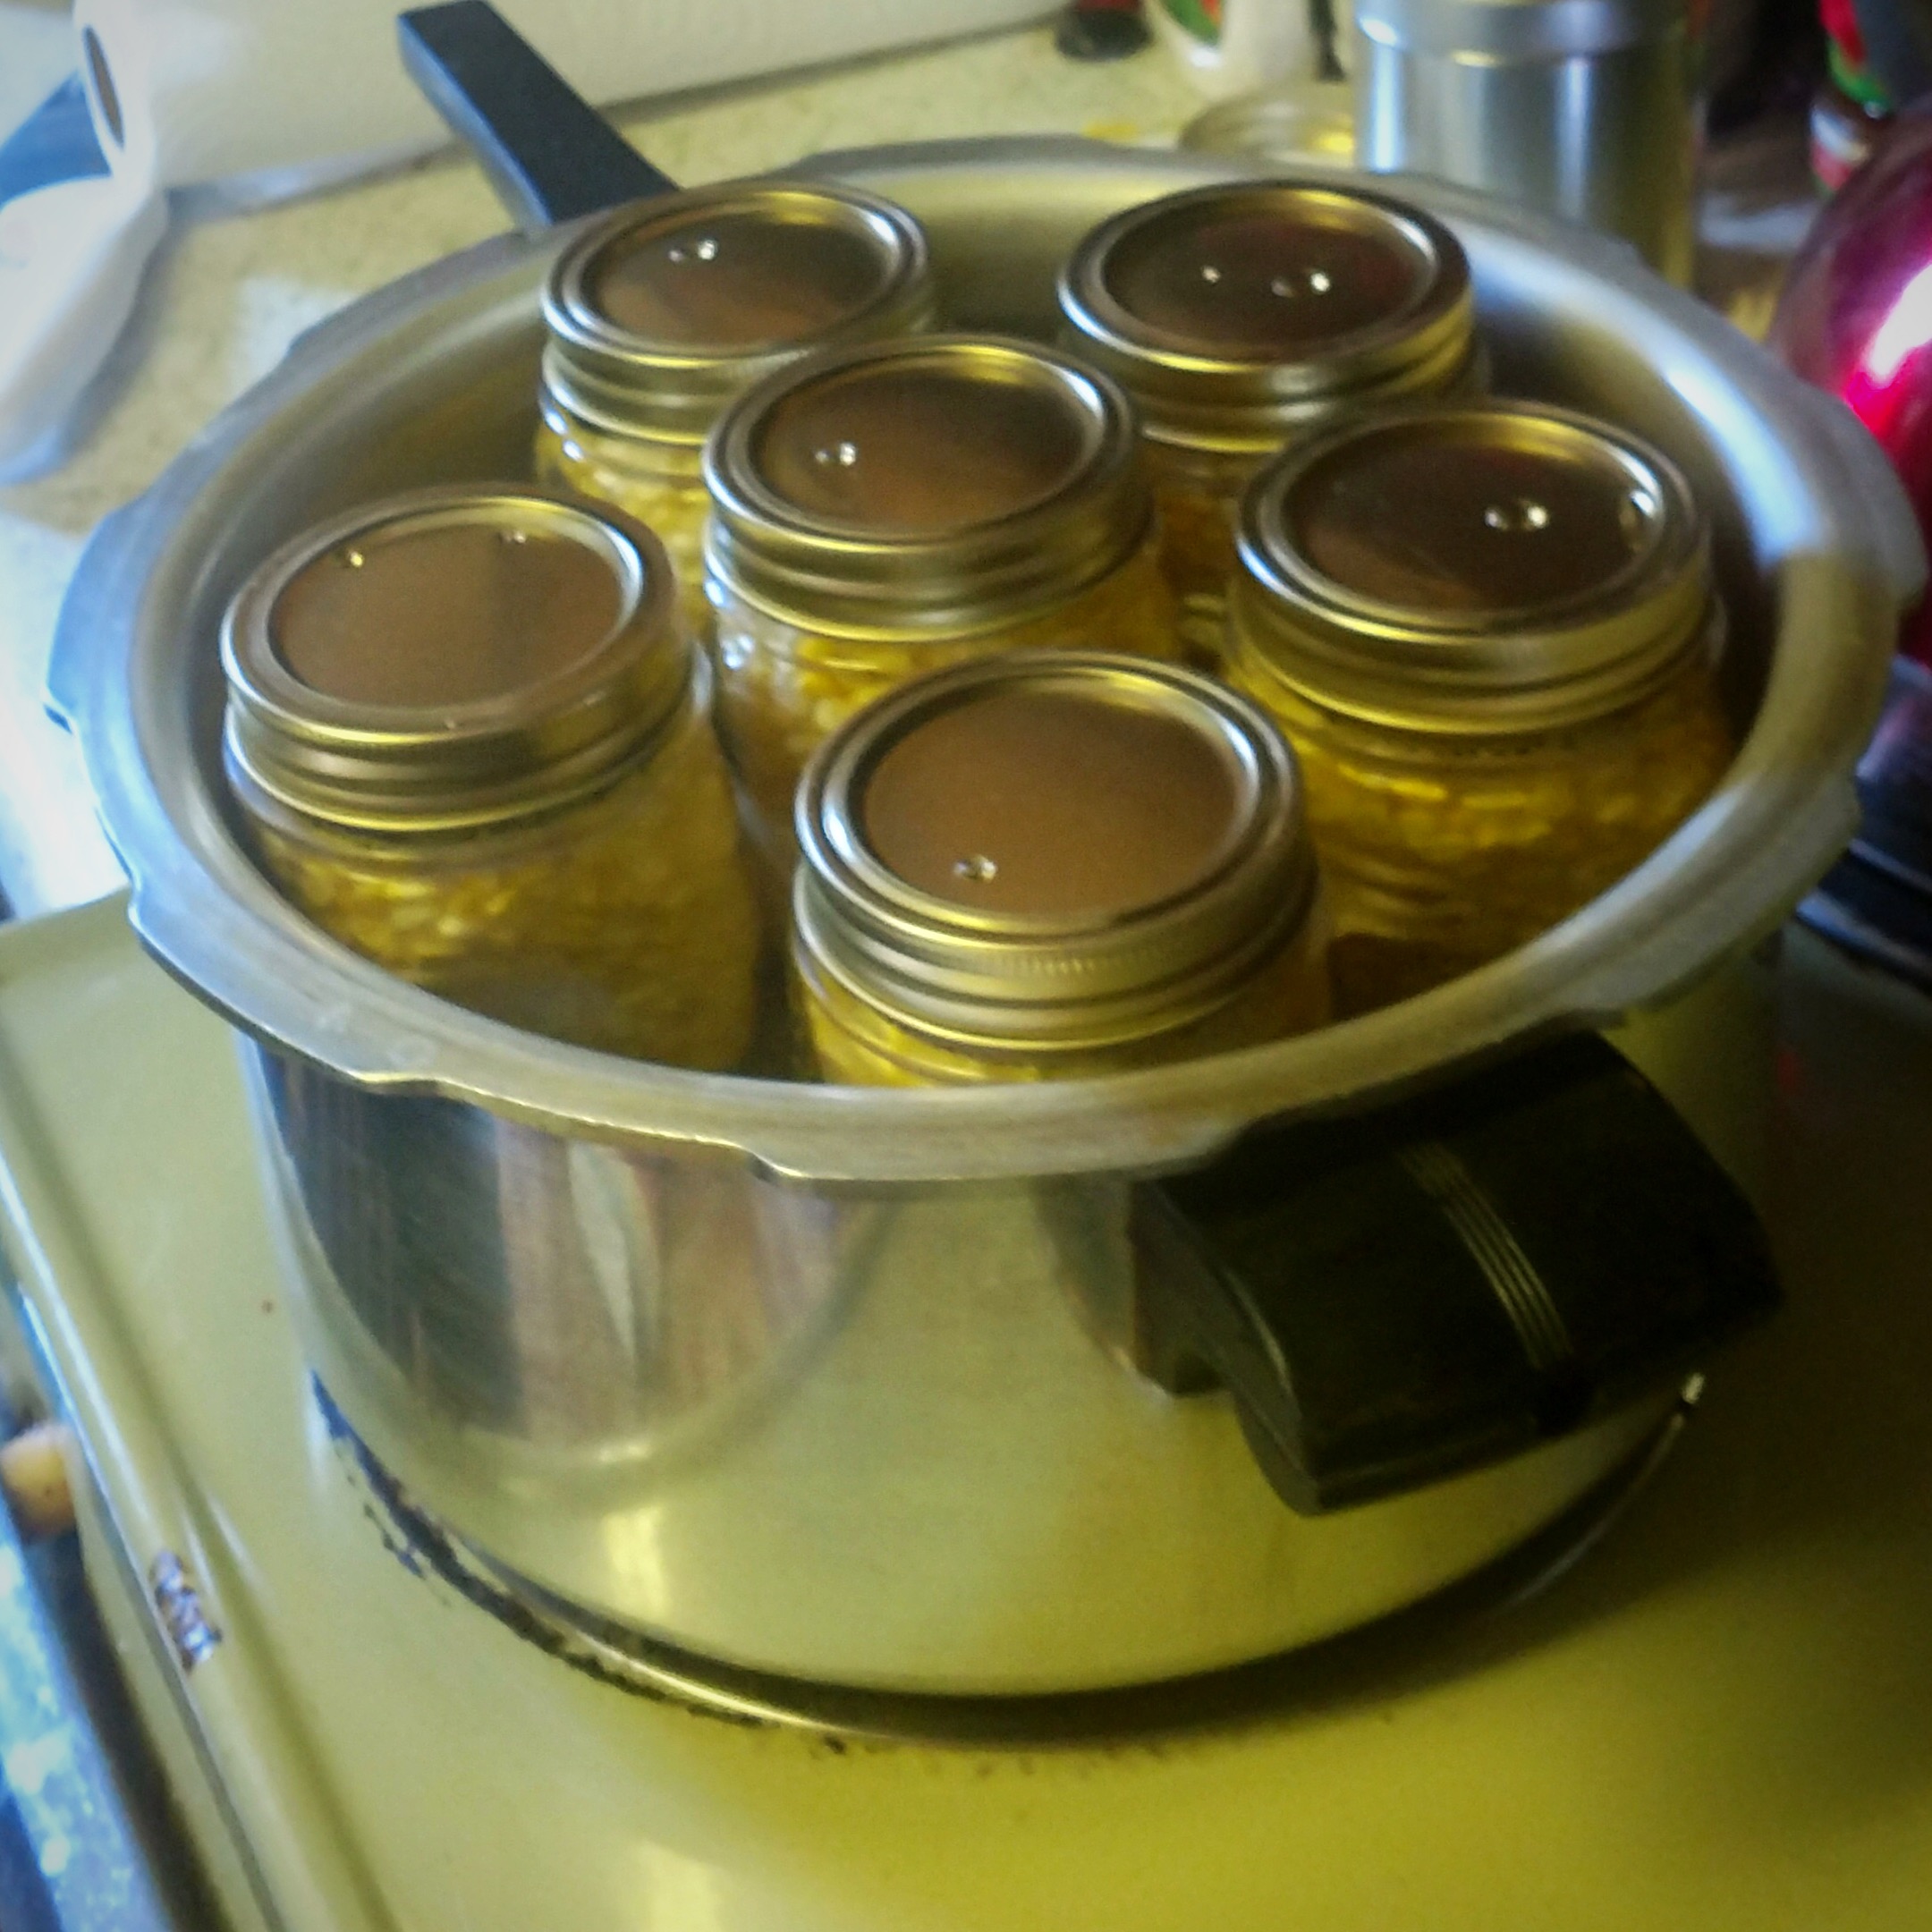
- Place the prepared pint into the pressure cooker. Repeat until pressure cooker is full.

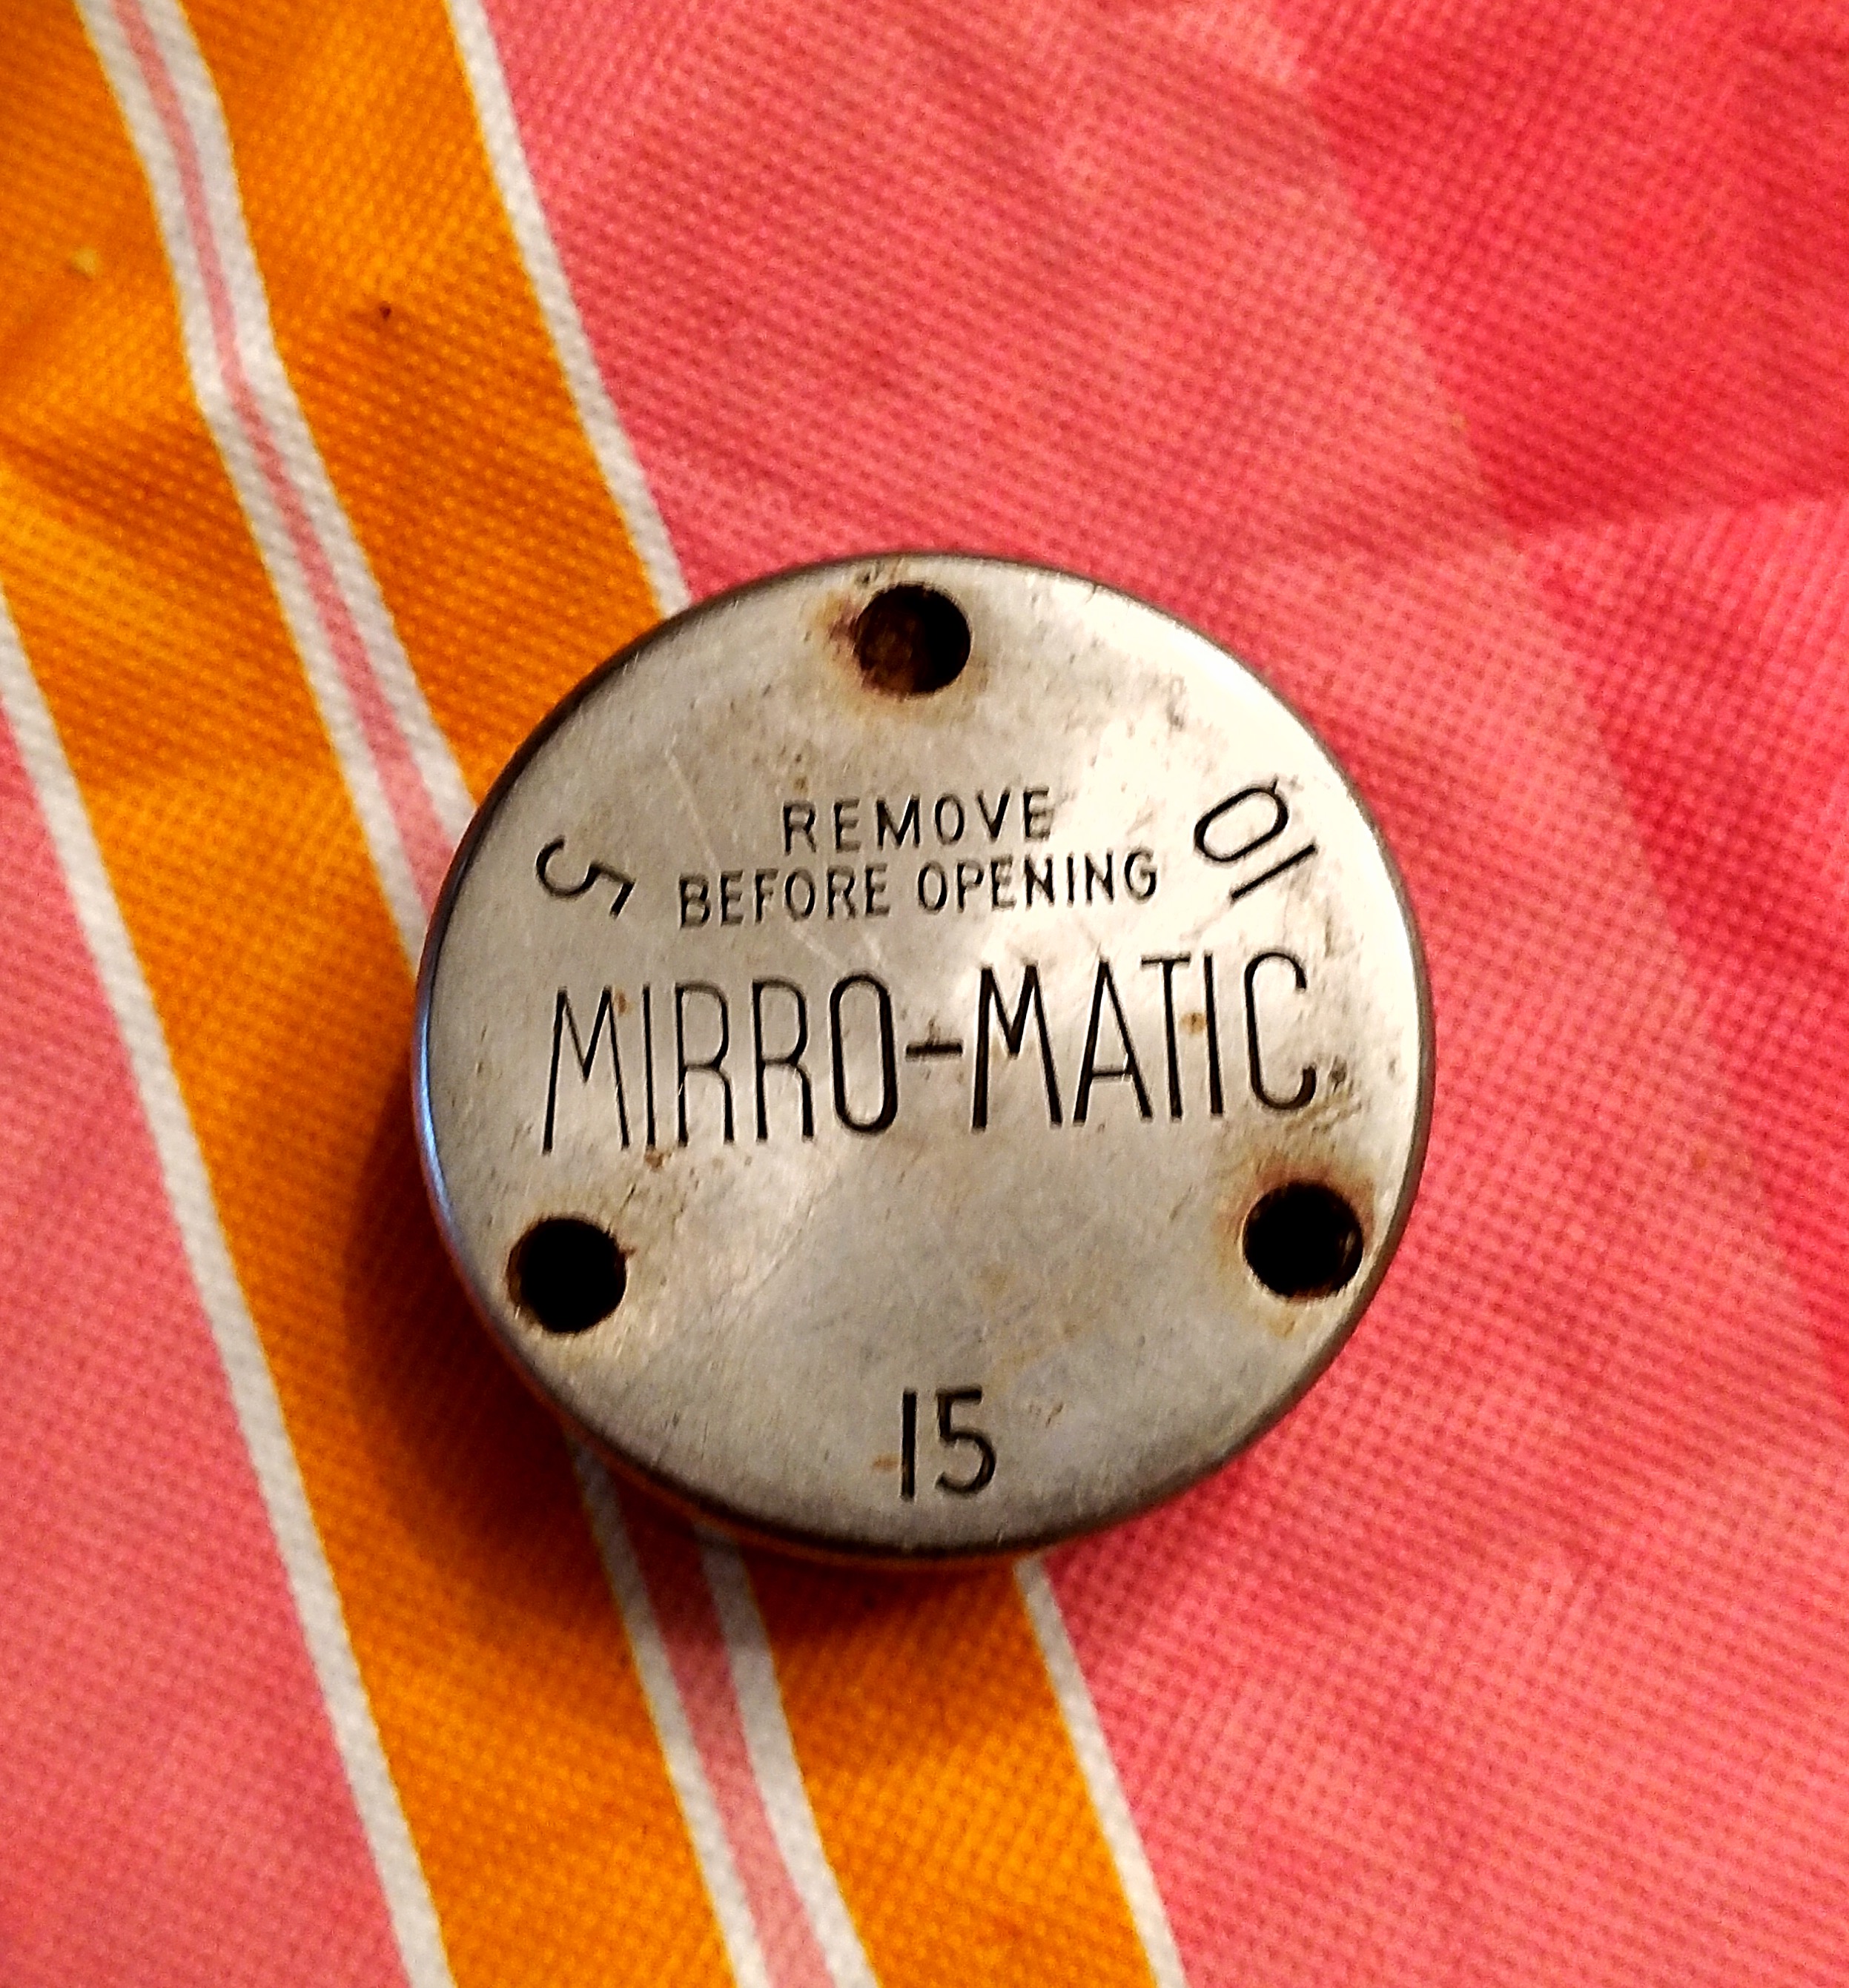
- Tighten the lid on the pressure cooker and place the weight on the top with the number of pounds of pressure you need facing downward. For corn, we need 10 lbs.
- Increase the heat on the stove and bring the pressure cooker to a boil. The weight on top will start to rattle continually. At this point, set a timer for 50 minutes. You can reduce the heat on the stovetop so the pressure cooker is only rattling 2-3 times each minute. Let it cook.
- After 50 minutes, let the pressure cooker cool. You can take it off the burner to reduce the heat quicker, but do not force cool the cooker. Force cooling includes removing the weight, opening the cooker prematurely, putting it into the refrigerator or outside when it is very cold, or running it under water. My grandmother always used to force cool her cooker by running it under water, but it is dangerous and also does not give the items in the cooker the right amount of time to cook. If you open the cooker before it has cooled, you are likely to get some steam burns.
- Set a timer for 45 minutes. Leave the pressure cooker alone until the timer goes off. During that time I set up cookie racks on my table because the ventilation will allow my jars to cool faster. I need to pick someplace that I can leave the jars for the next 12 hours.
- For an extra precaution, I use a butter knife to lift the weight from the pressure cooker. If steam still shoots out, let your cooker cool longer. If the weight lifts normally, you can open your pressure cooker. Open it away from your body in case extra steam is still trapped.
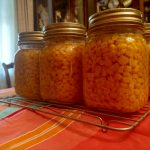
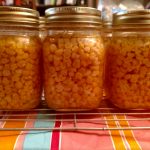
- The items inside will still be warm. Using jar tongs or hot pads, lift the jars from the pressure cooker onto the cooling racks. I saw little bubbles still racing to the tops of my jars when I removed them. As they cool, you will begin to hear popping sounds come from the kitchen. This means that the seals have worked.
- After 12 hours, check the seals on the cans. You can do this several ways, but I usually just press down with my finger and take a look at the can. If the lid moves when I press it, and it does not look a little concave, the lid is not sealed. I can either reprocess the jar, or I can use whatever was in that jar.


Canning was time consuming, but most of the time was not active. I could spend under an hour actually husking, preparing, and placing the jars in the cooker. The rest of the time was spent with the cooker jingling away on the stove, or waiting for the cooker to cool. If I grew things in my own garden that I wanted to can, I do not think I would have more than one batch of most items. I would definitely do this again when I get good deals on fresh fruits and vegetables. I think my next experiment is going to be in dry canning though; I really want to be able to buy bigger containers of rice or beans and be able to keep them longer.
